Hike-Life Series: Bridge to Nowhere

Bridge to Nowhere


Some of you know that I am an outdoorsy woman and I love adventure so it’s no surprise that I am really into hiking. Well, maybe it is to some of you because I am usually so into makeup and fashion, but ya girl gets outside! California happens to be such a goldmine when it comes to some pretty epic hiking trails. If you don’t know, now you know! I participated in #blackhikersweek, an initiative curated by @blackpeoplewhohike that brought light to black people in the outdoor space and celebrated us diversifying outdoors. Hiking has been framed/viewed as a non-black activity and this movement showed through such enormous visibility that it’s the furthest thing from the truth. We be out here! So in conjunction with that I thought about how I can continue to share my hiking journey with my friends and audience online. I decided to start my hike life series. I usually refer to my hiking adventures as being “back on my hike life bullshit,” but it’s honestly one of my favorite hobbies, so it’s indeed not really bullsh*t at all. I’m just a weirdo.


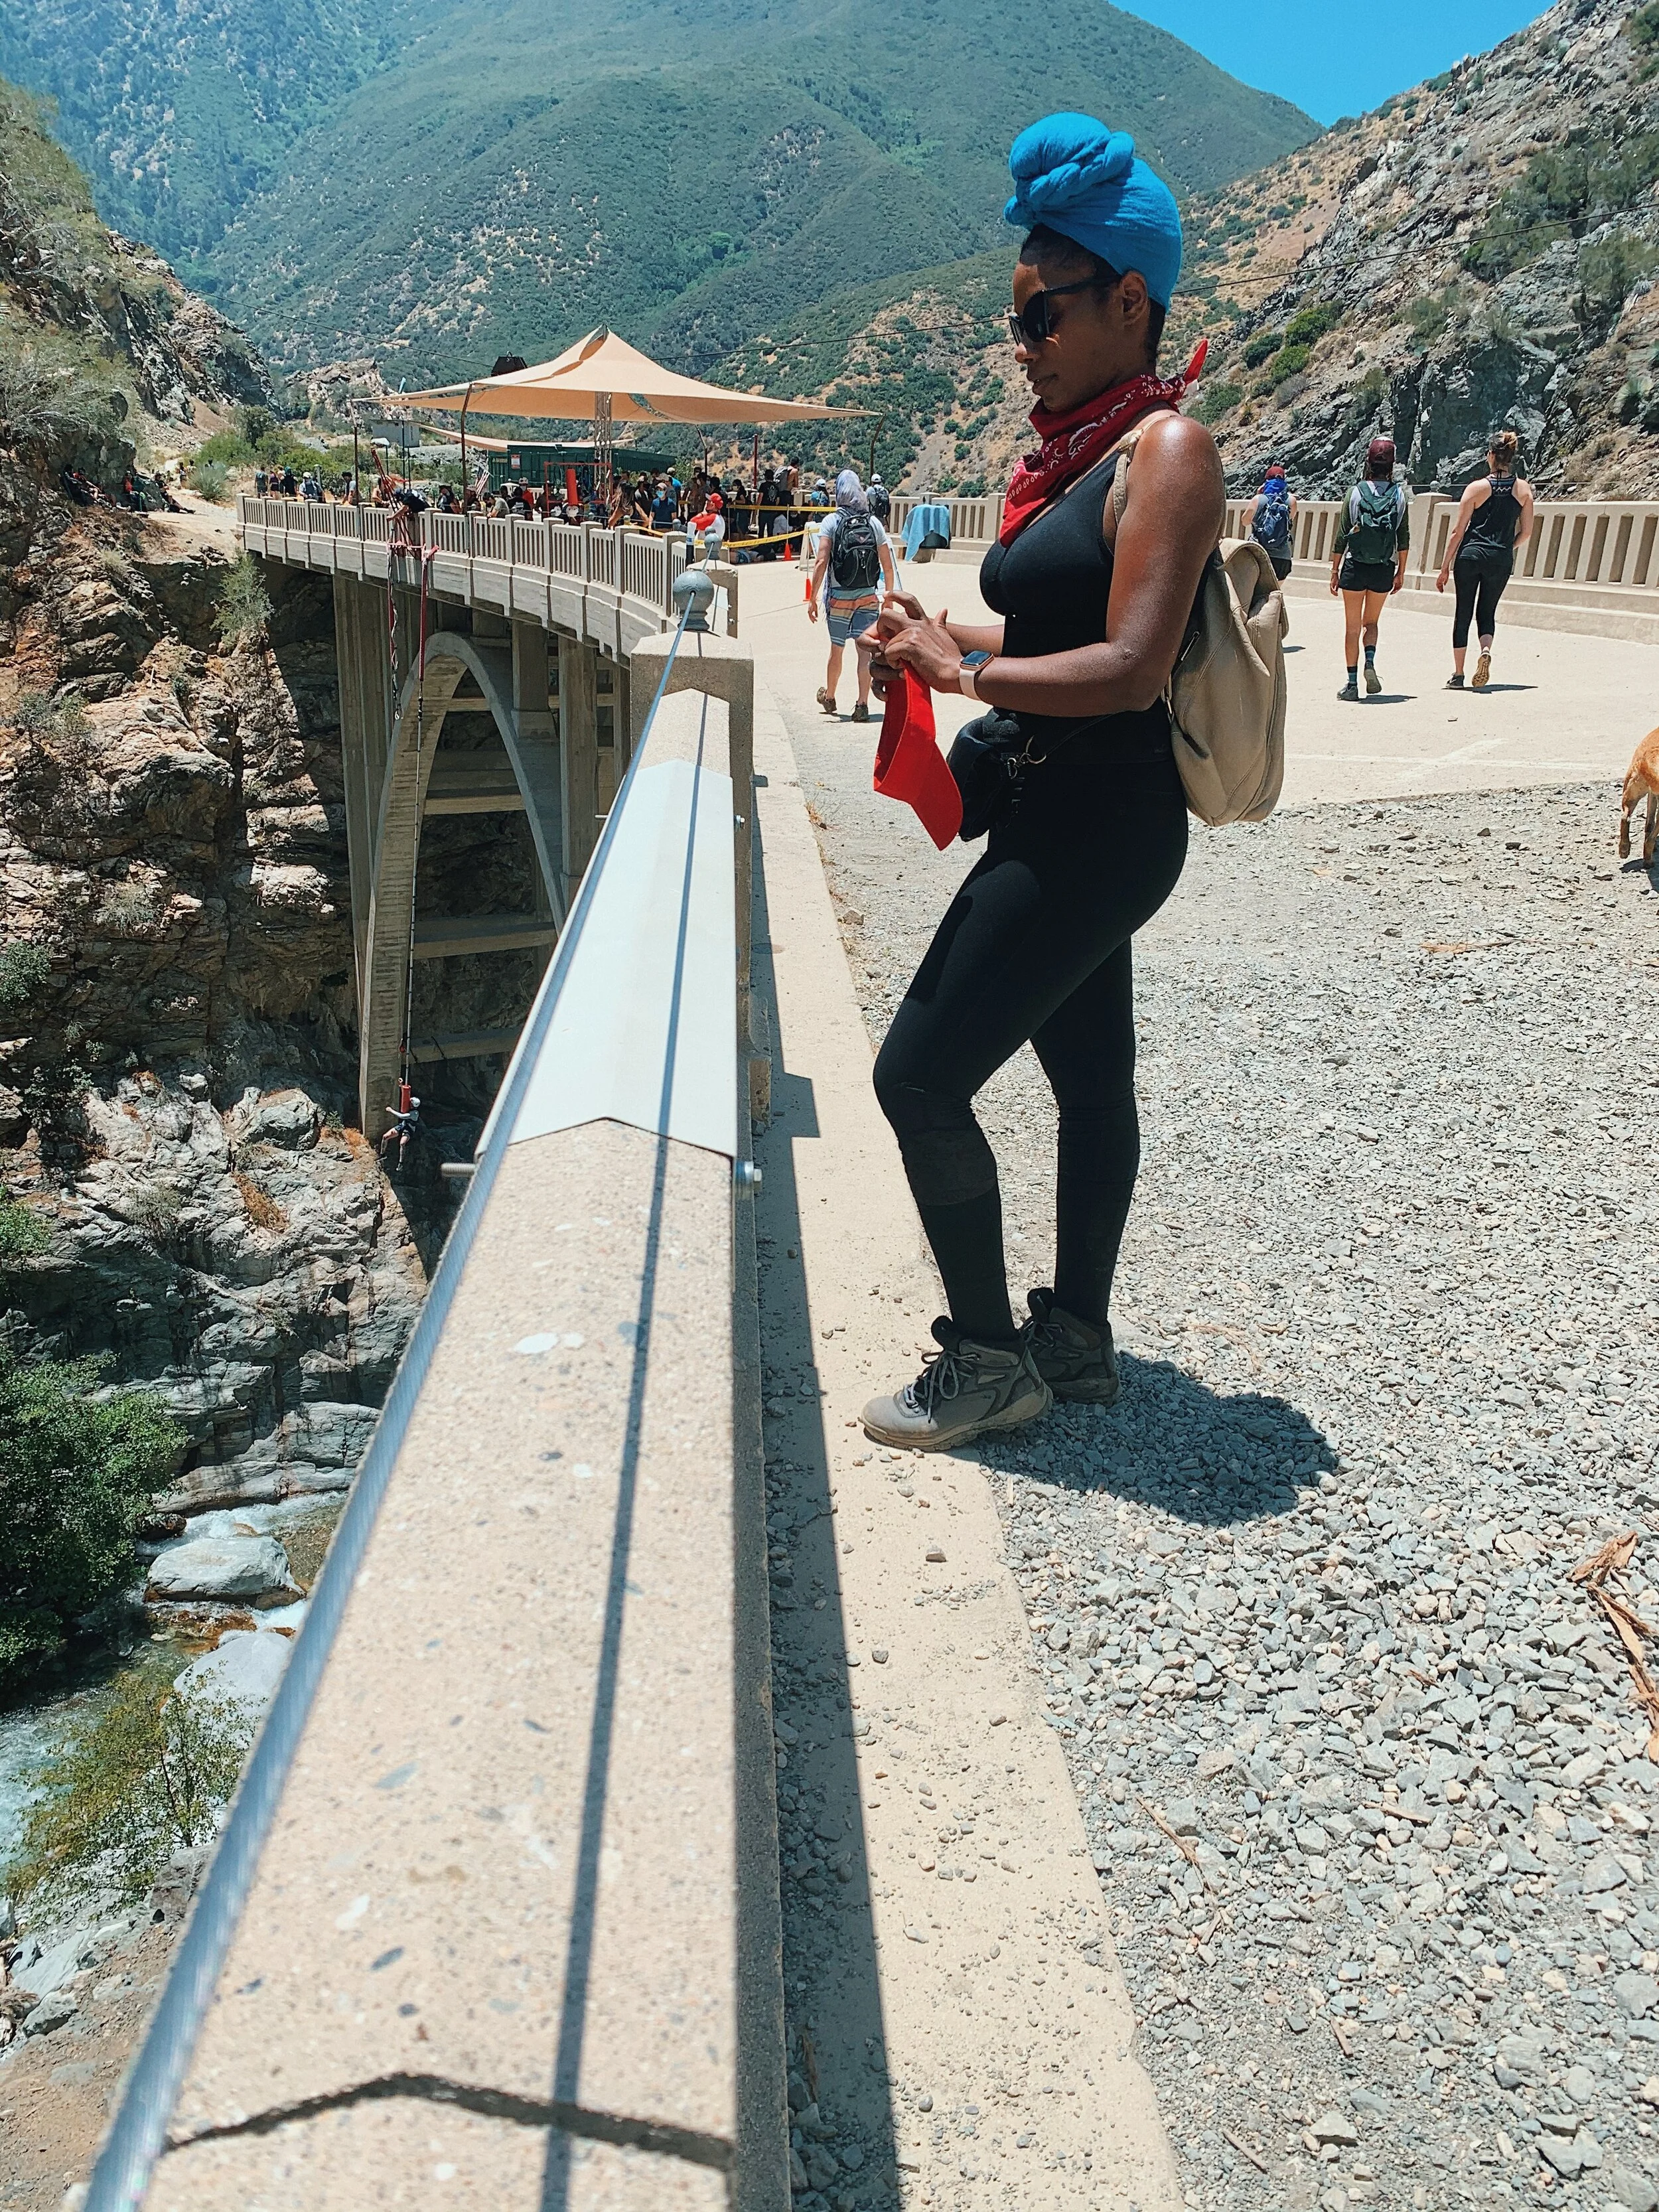
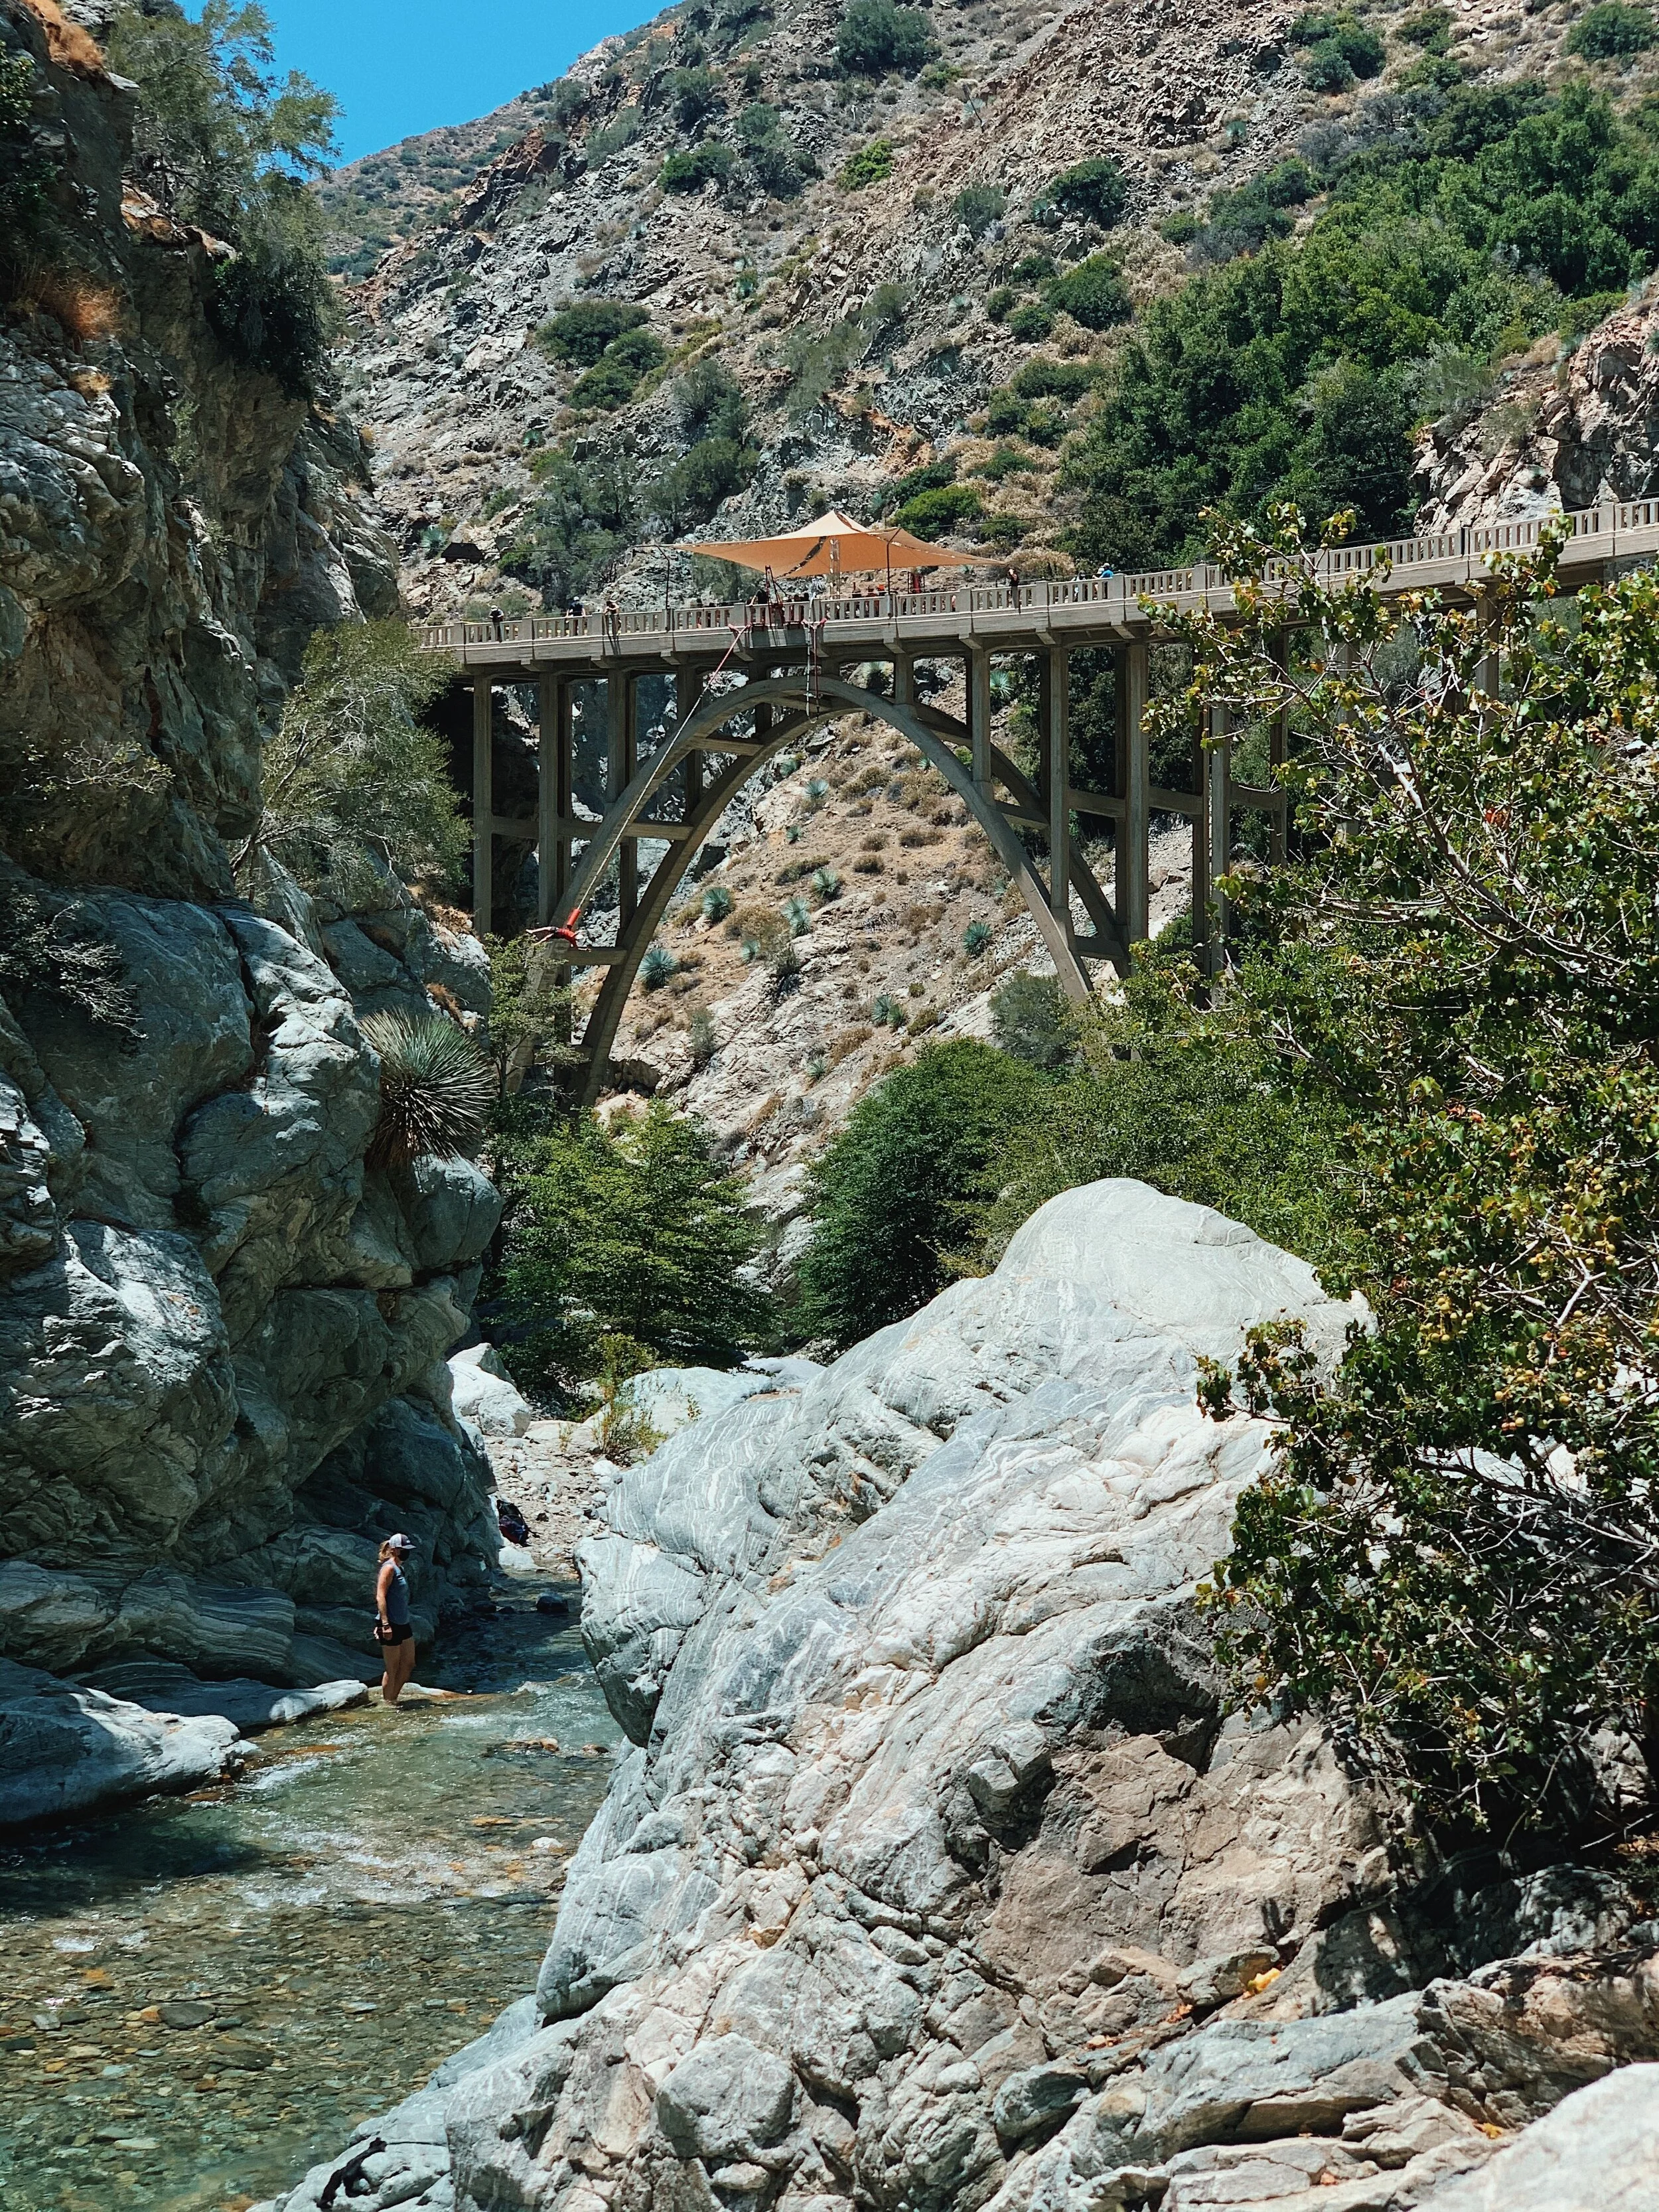
Let jump into the details of this 10-mile hike to Bridge to Nowhere shall we? So why is this trailhead called the Bridge to Nowhere? At the end of the trail there is an abandoned bridge on a washed-away road in the San Gabriel Mountains. A flood changed the landscape and apparently it was not worth the financial investment to rebuild so the idea was scrapped, thus the Bridge to Nowhere was born. You can actually bungee jump at the bridge after your first 5 mile trek if you want an additional adrenaline boost. I didn’t want any parts but the company that facilitates the operation is Bungee America. I believe the cost starts at $100.


I prefer to hike early in the morning especially during the summer for a few reasons; it’s way less crowded and I like to take advantage of the cooler temperatures. We went around 10am and that was already too late for my liking but I’m committed to the hike life so I bossed up and got it done. We ended up hiking 12 miles total because we parked about a mile out from the start of the trail. This is why getting there early is really for your own benefit. You may end up paying for your tardiness in miles. We sure did.


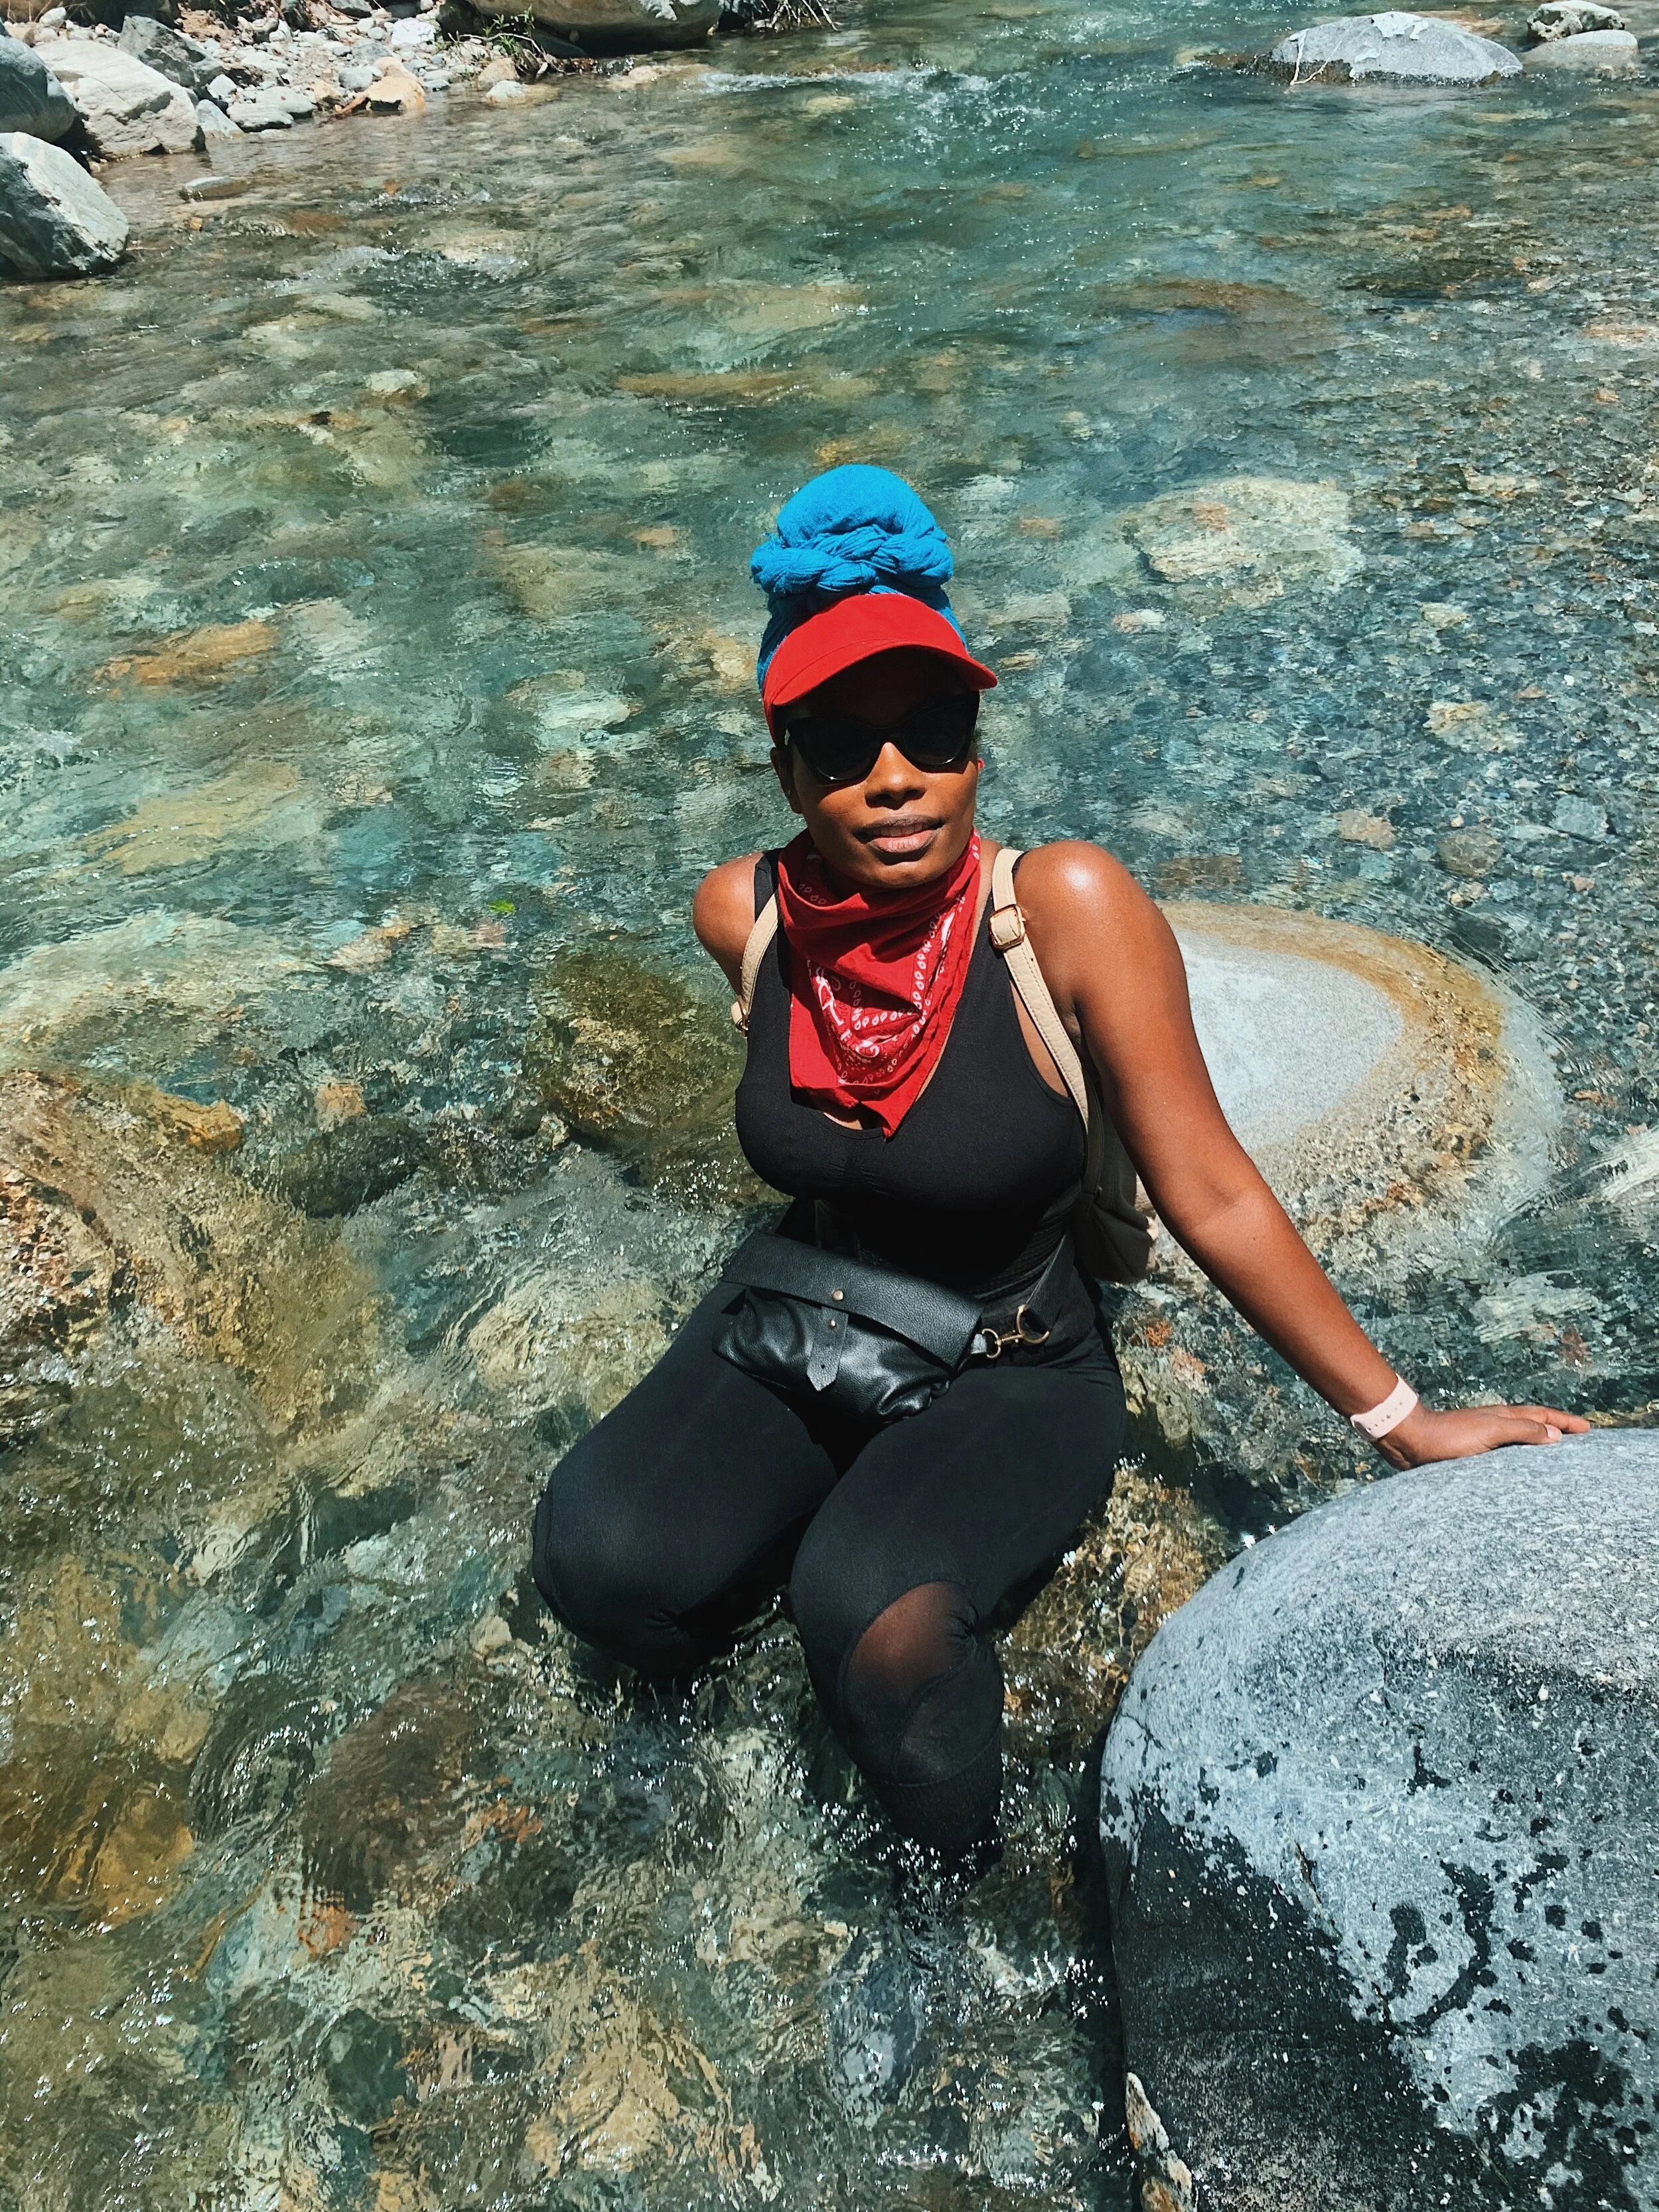
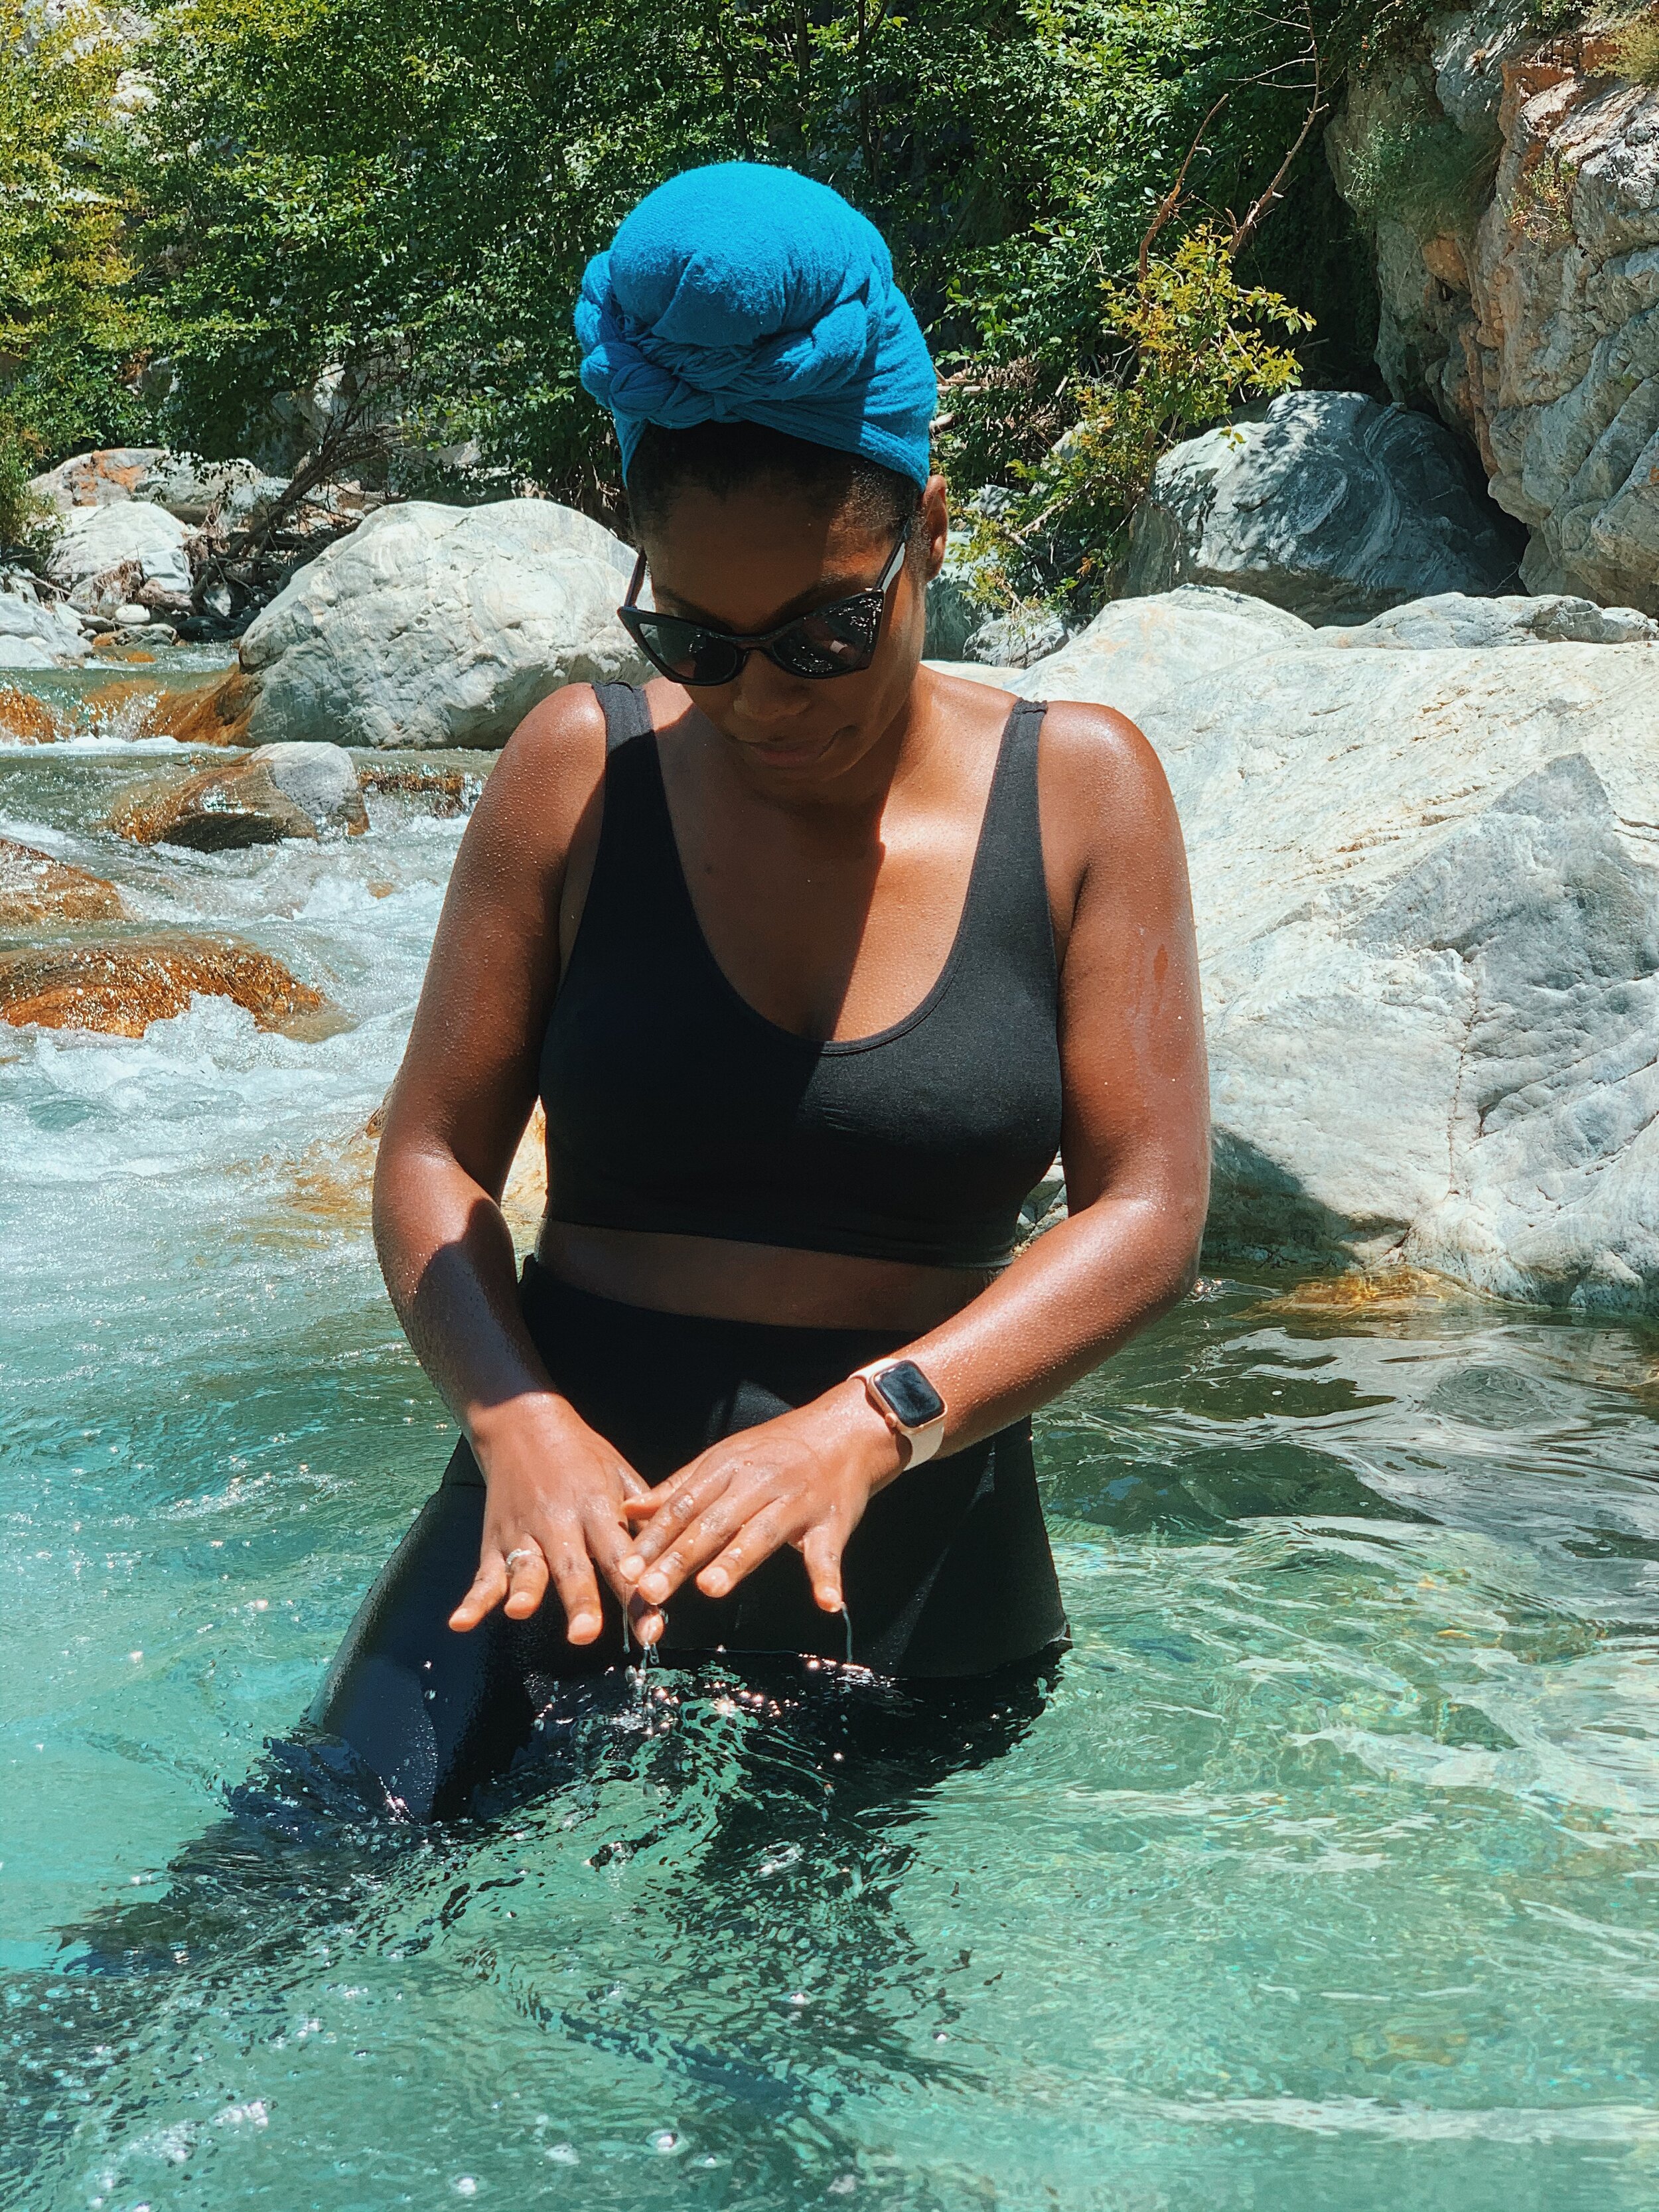
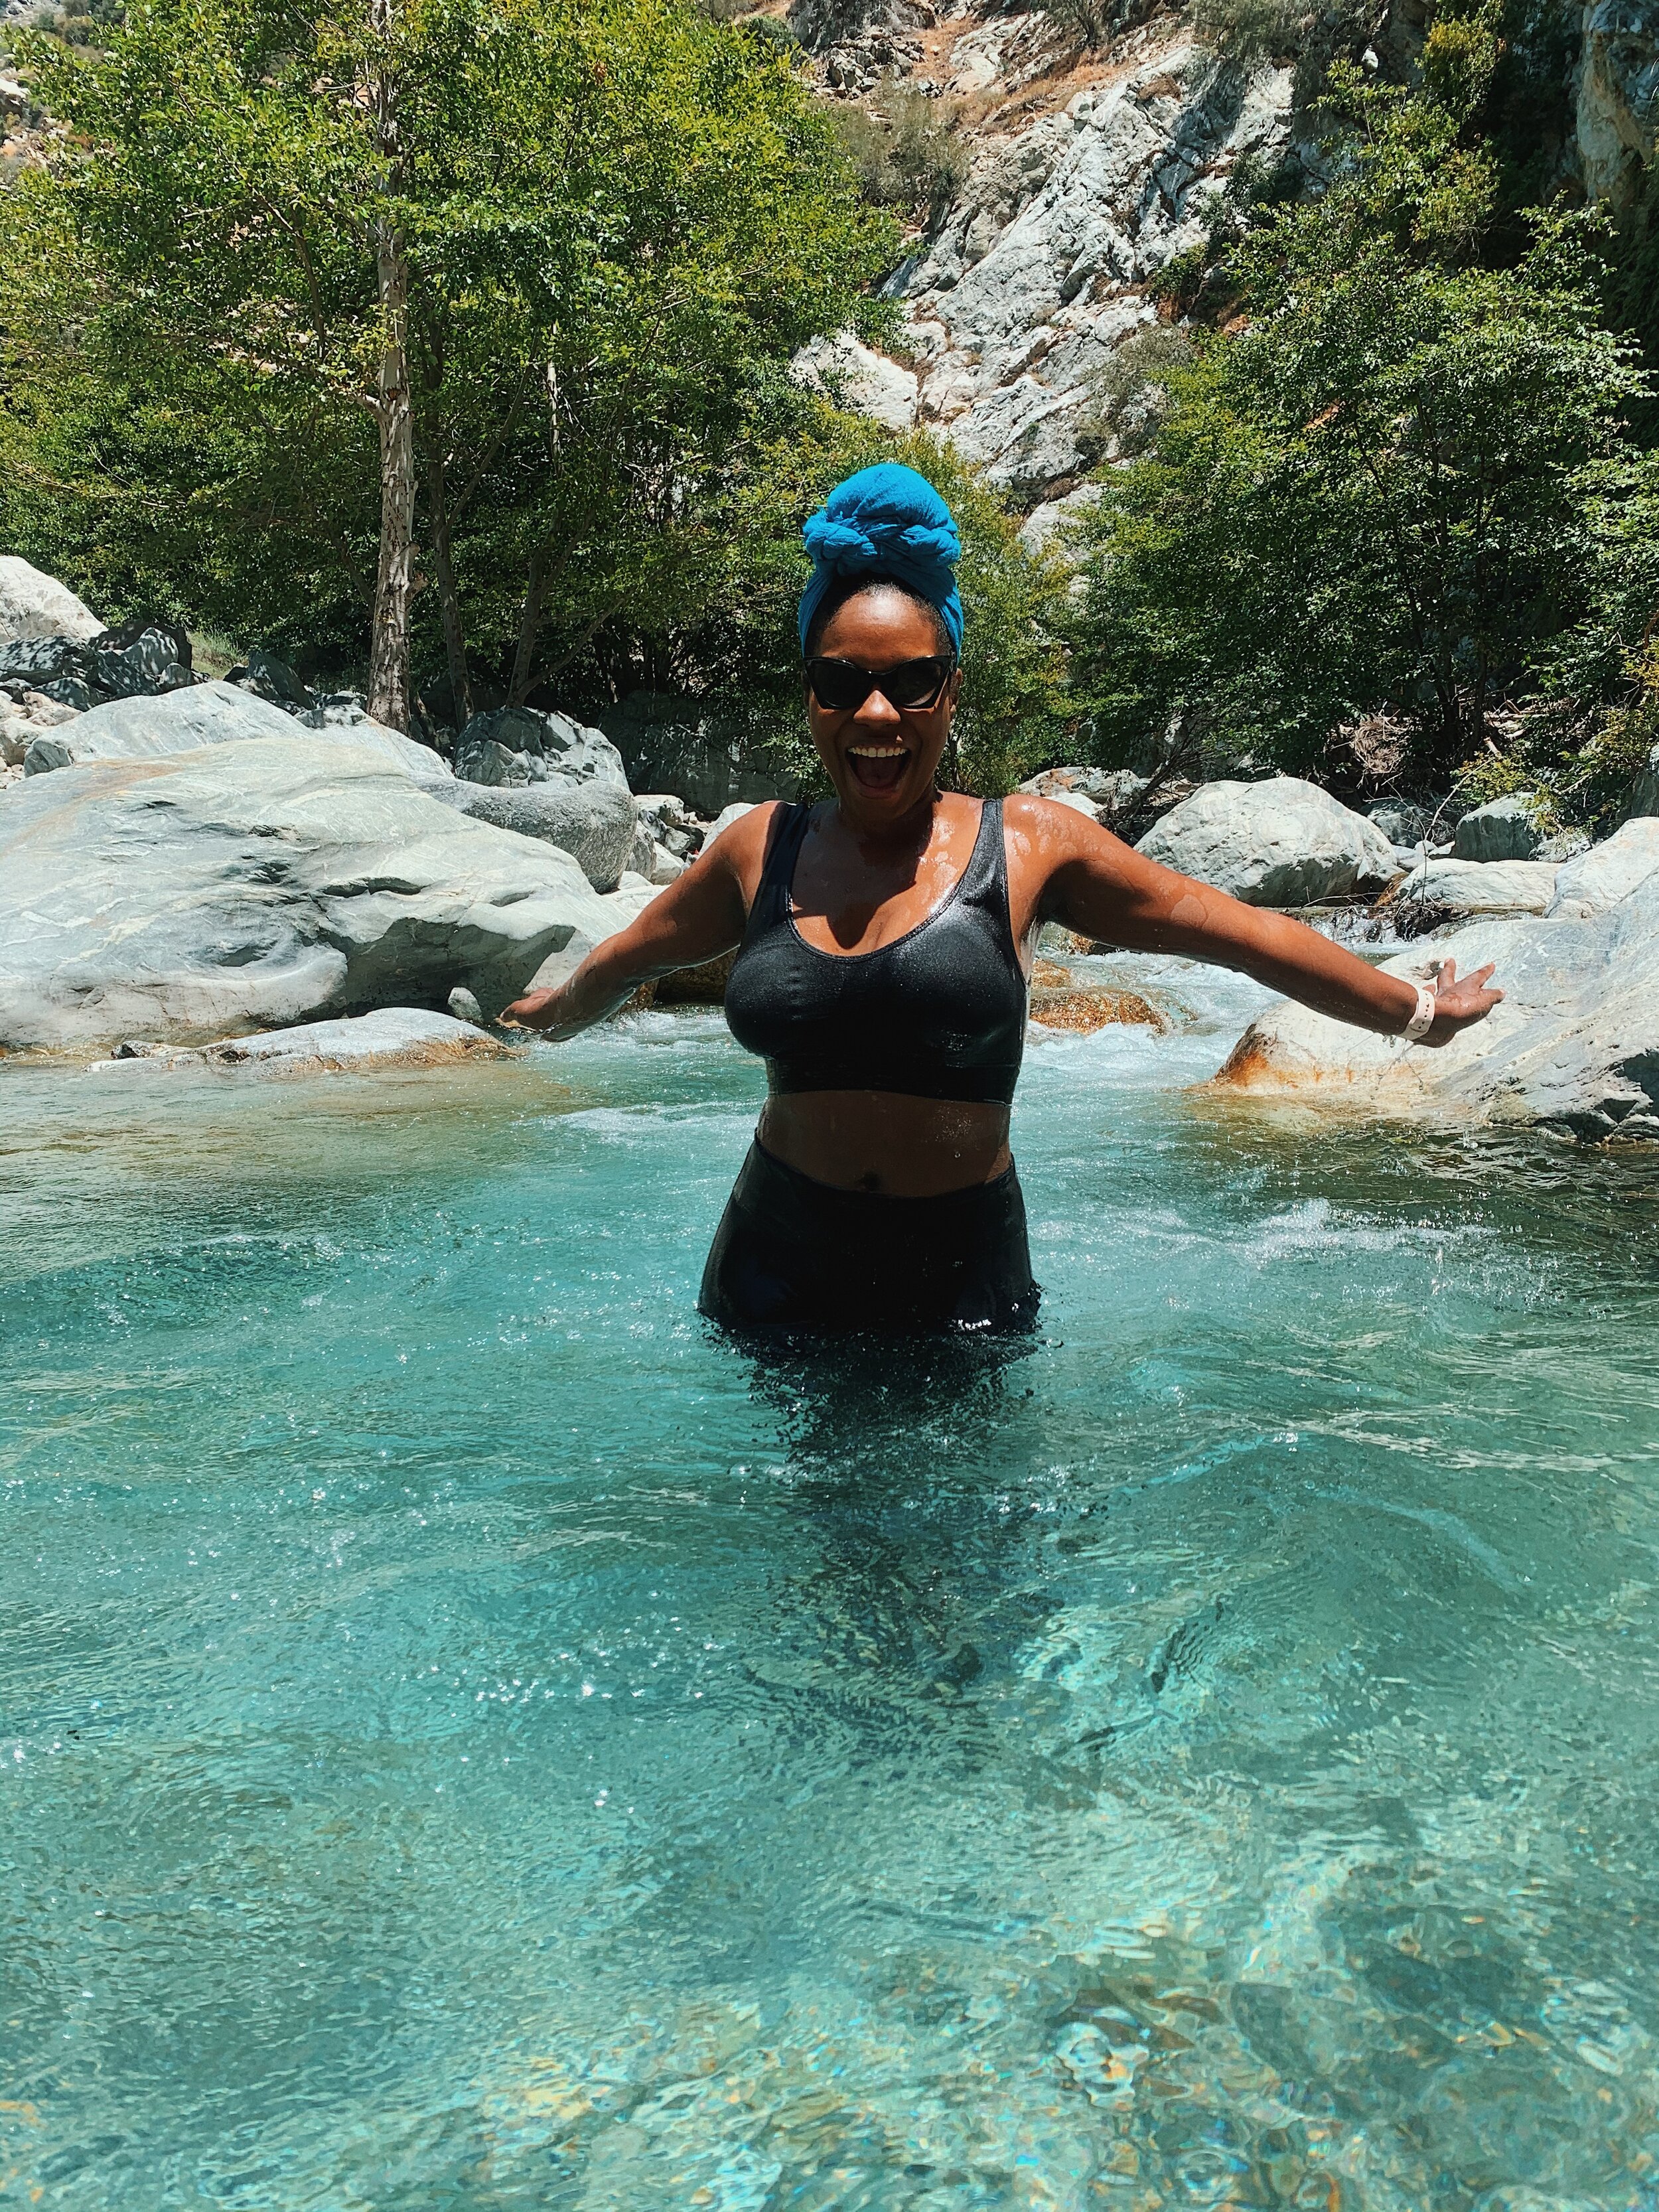
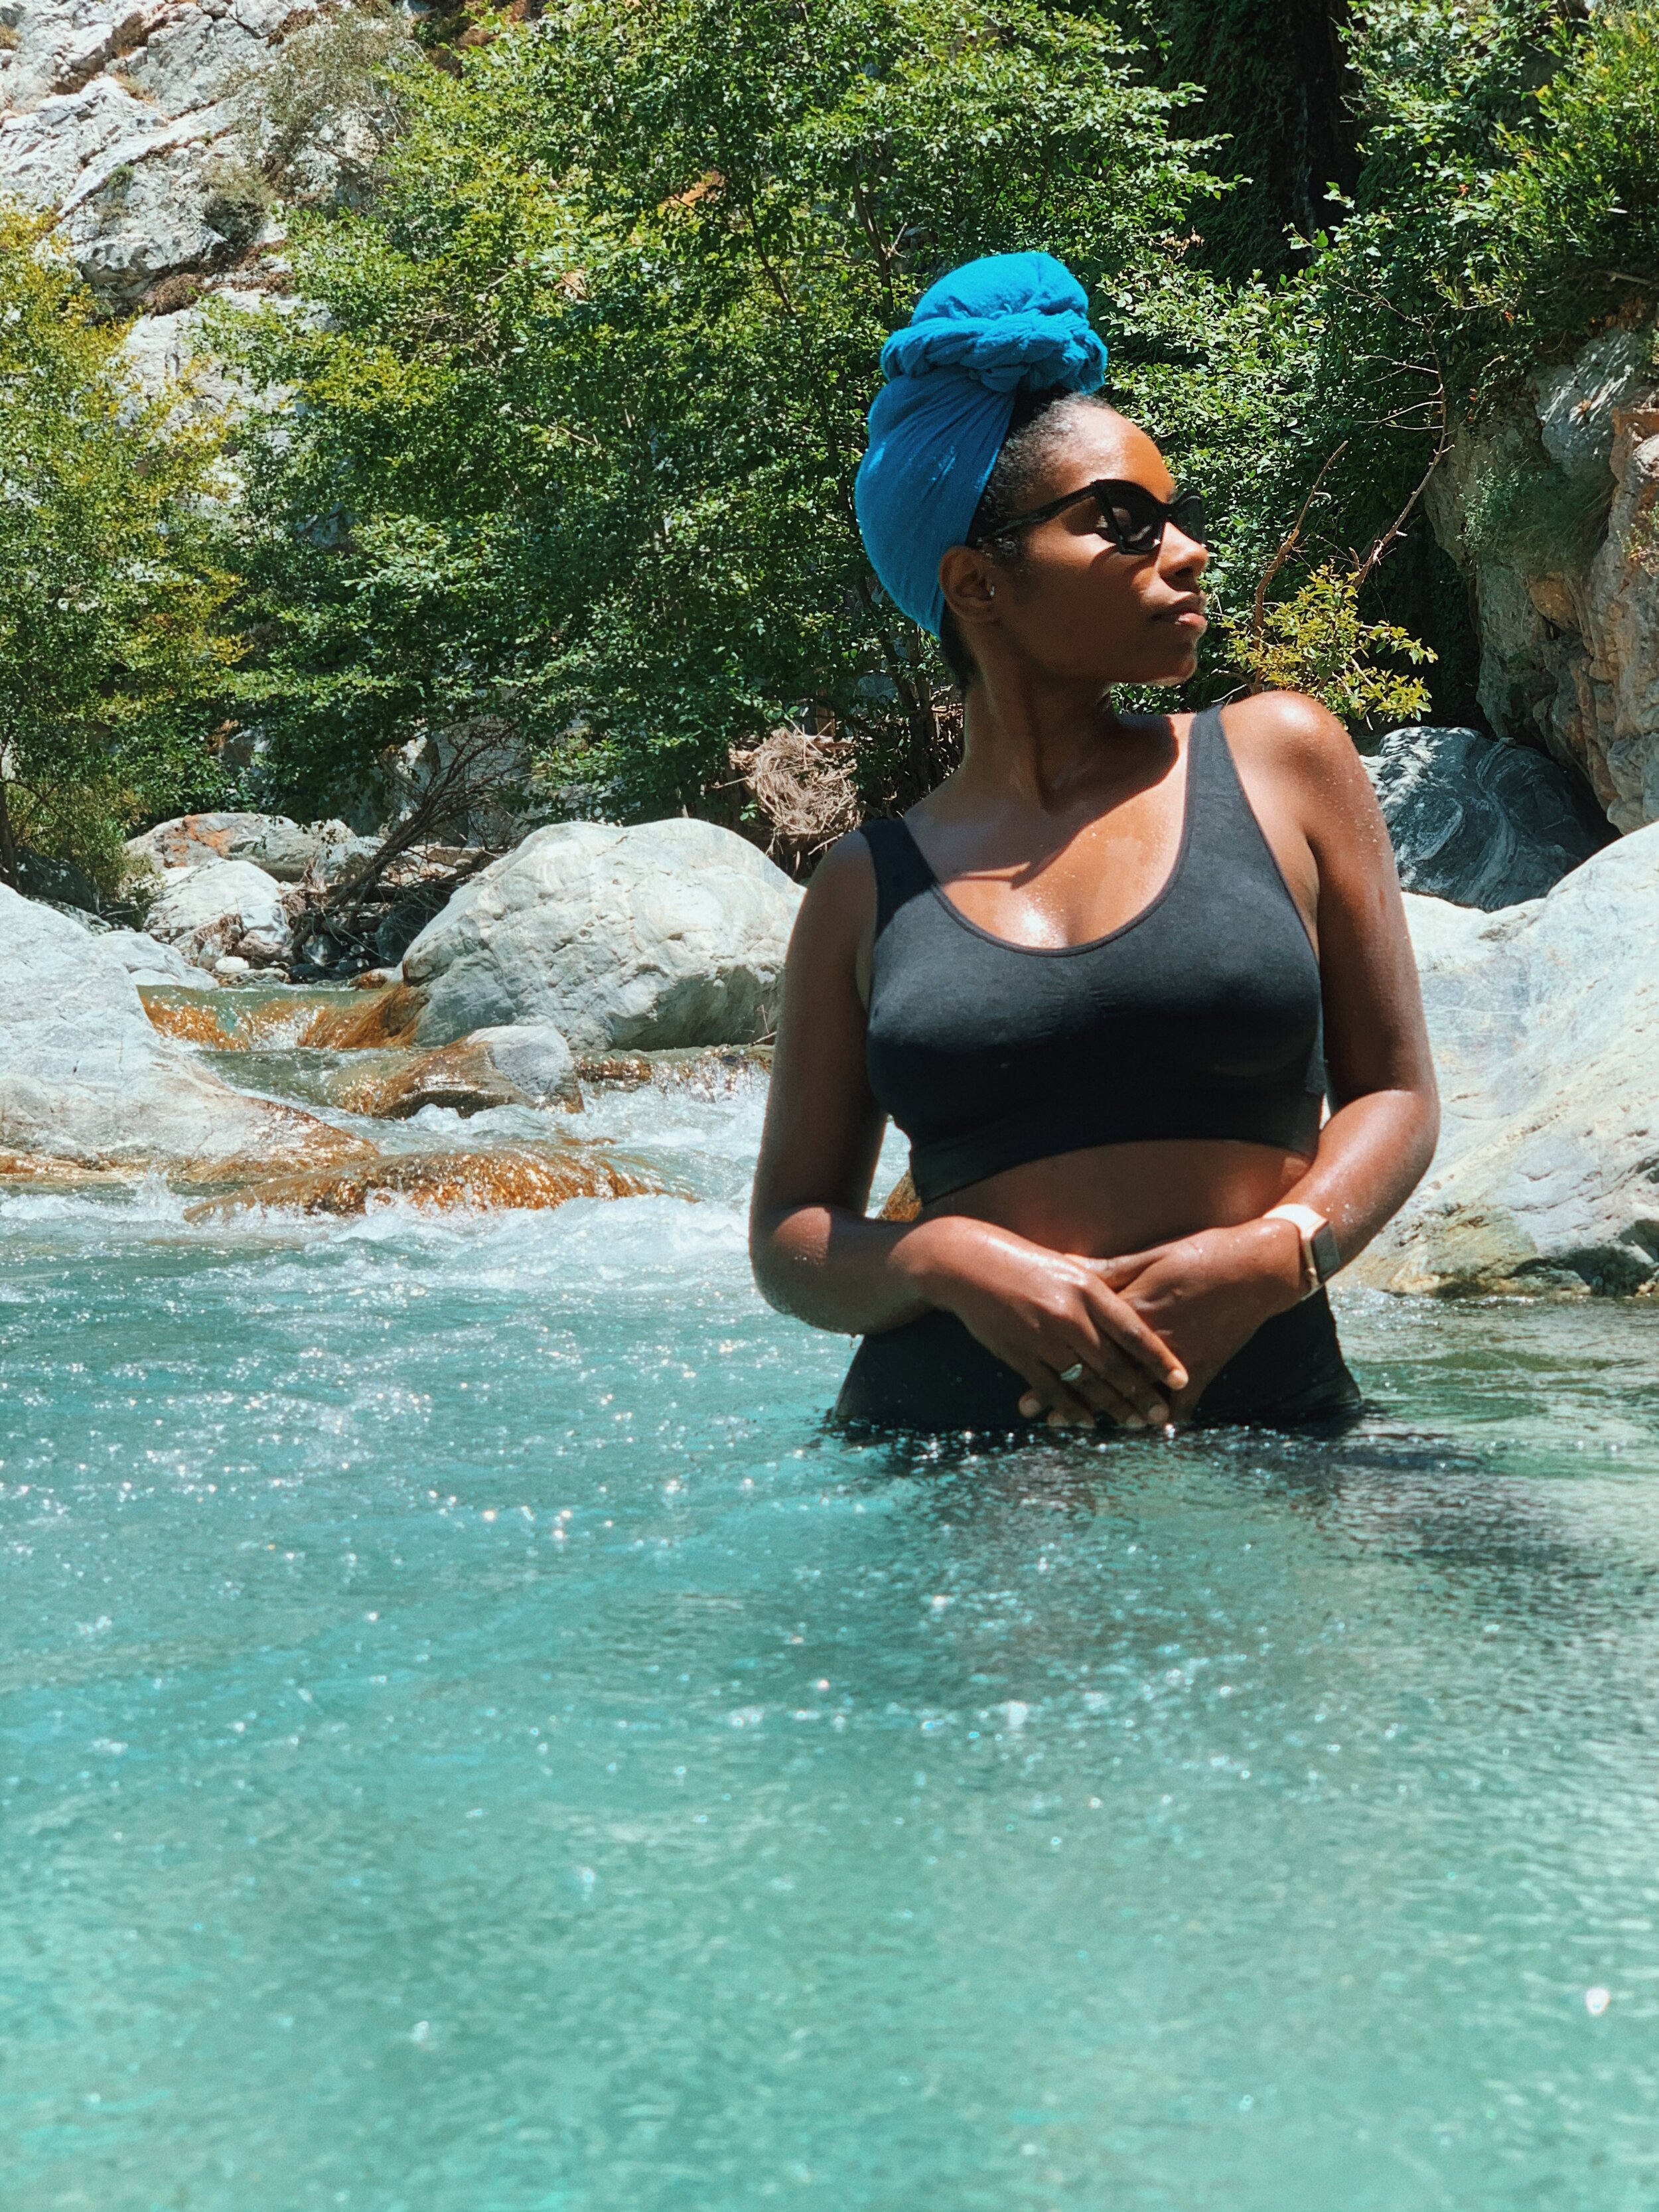
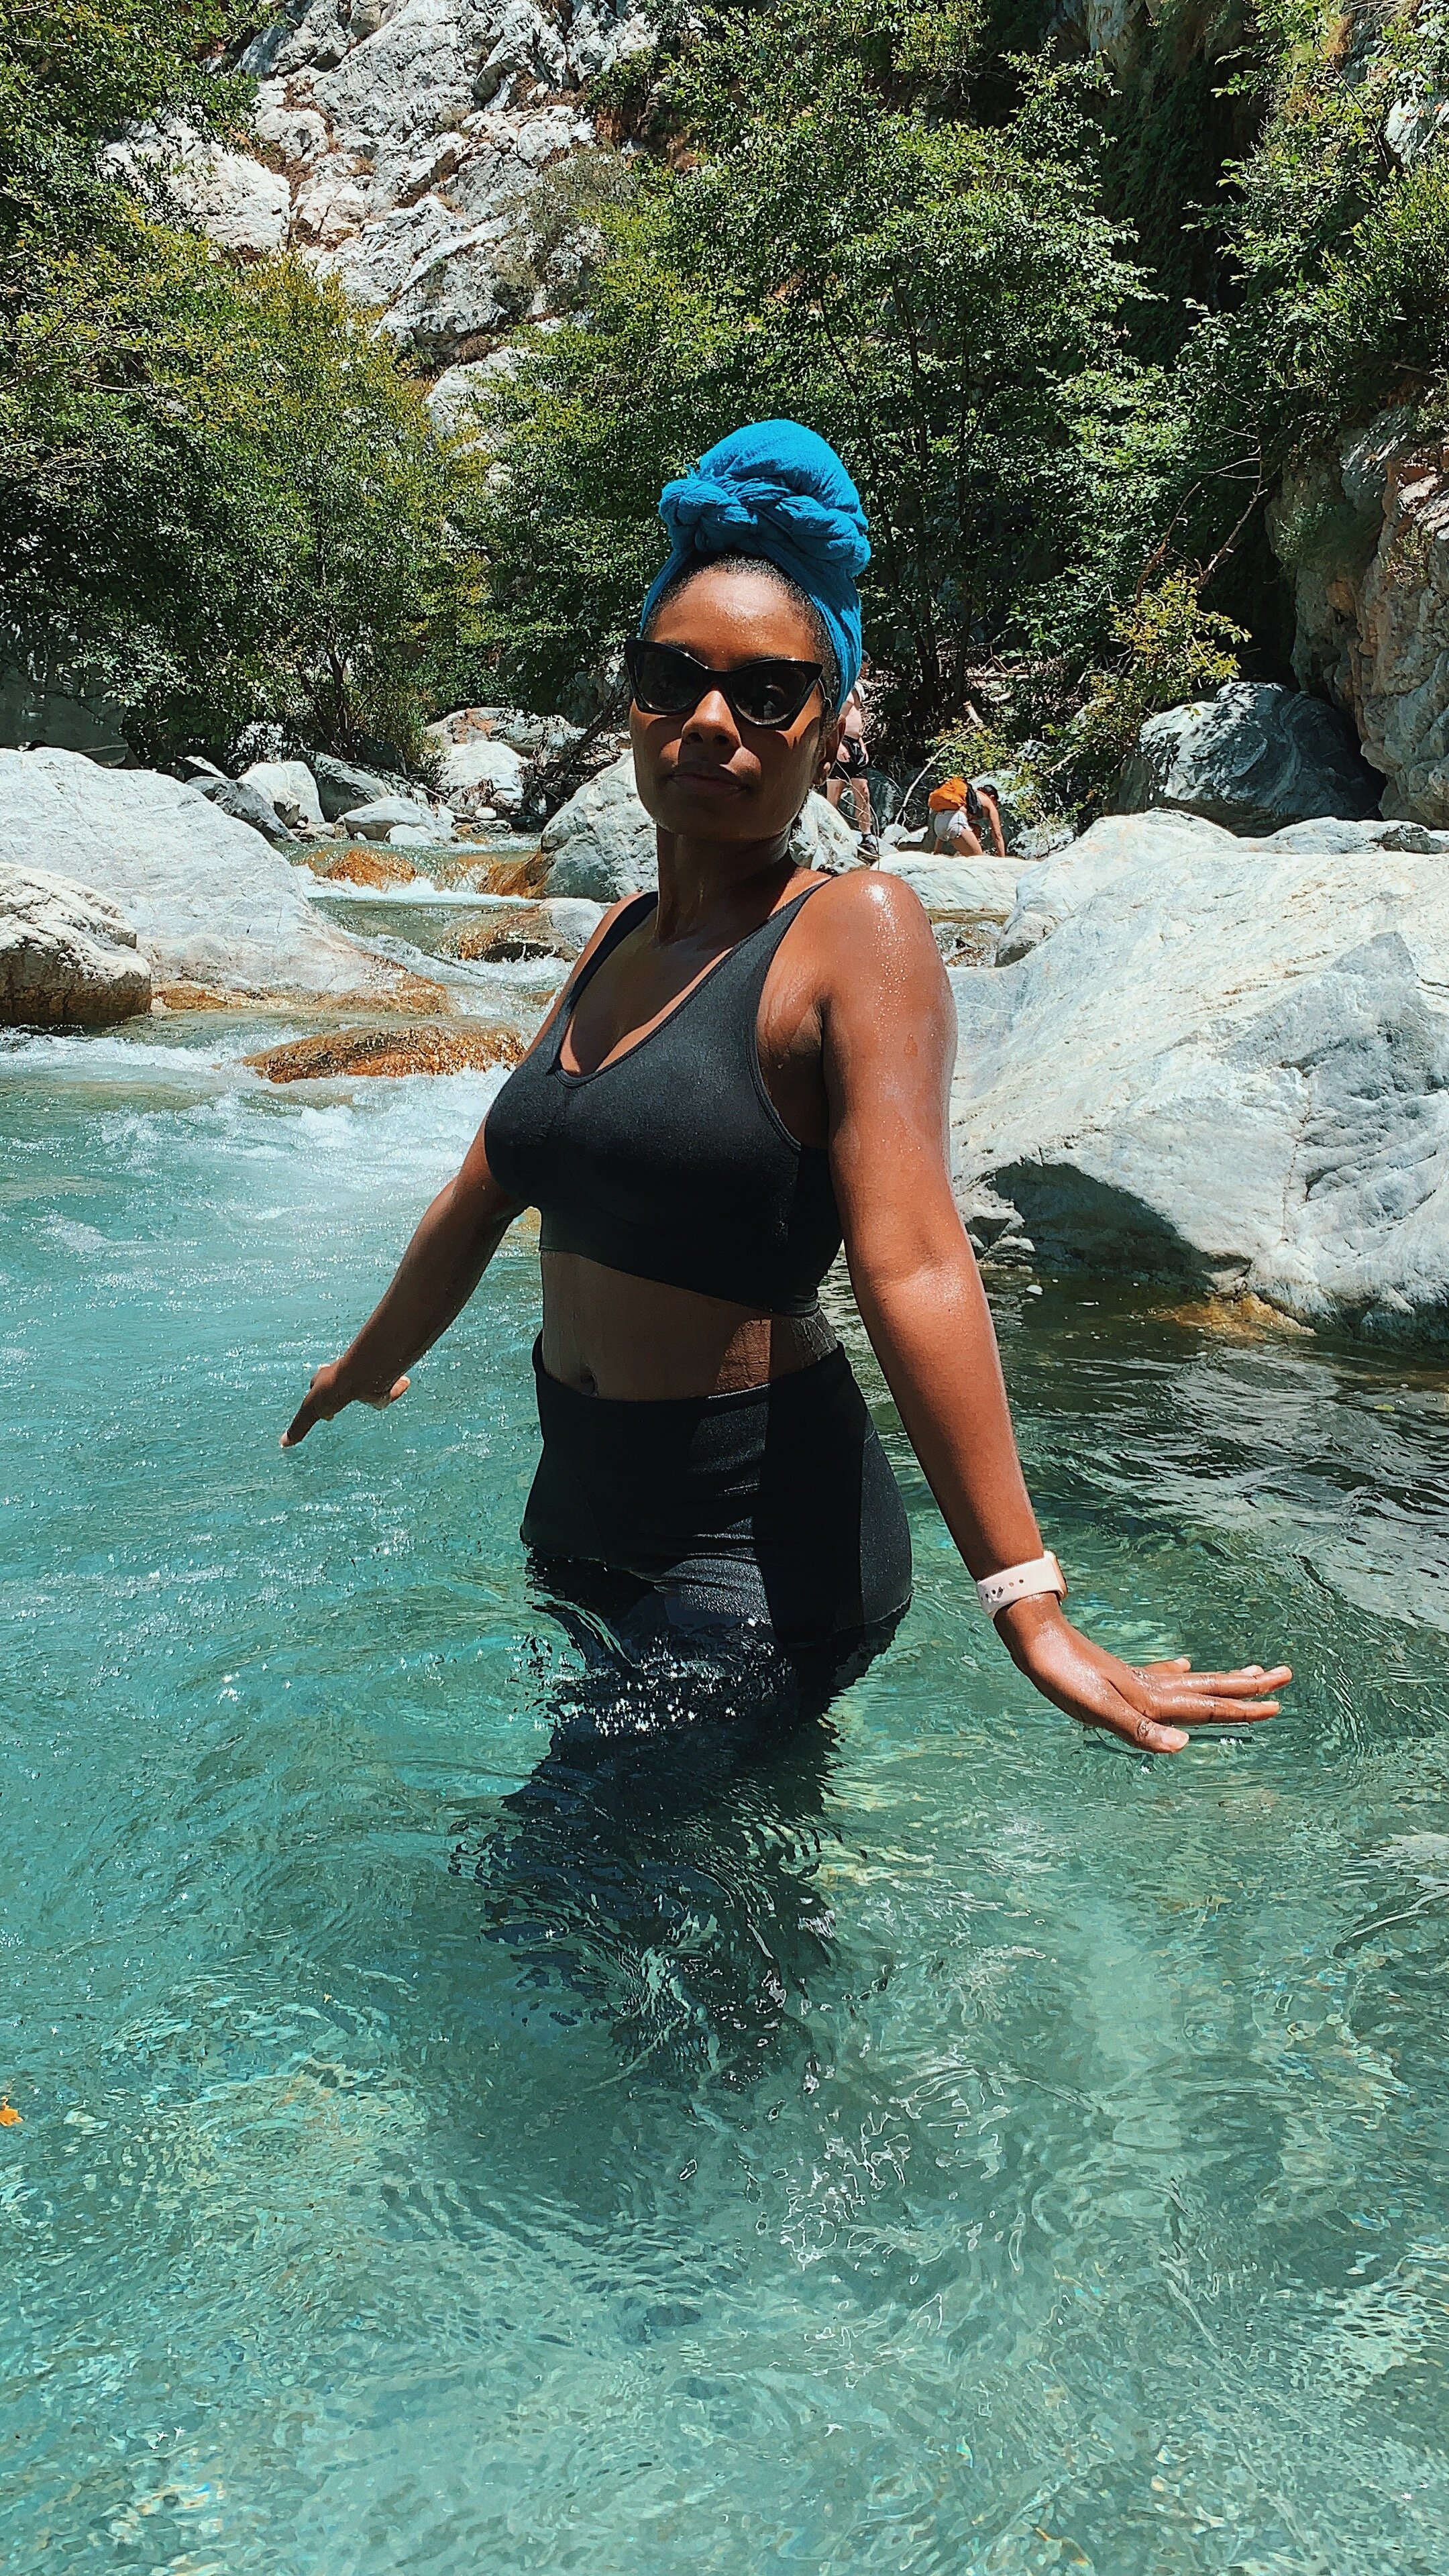
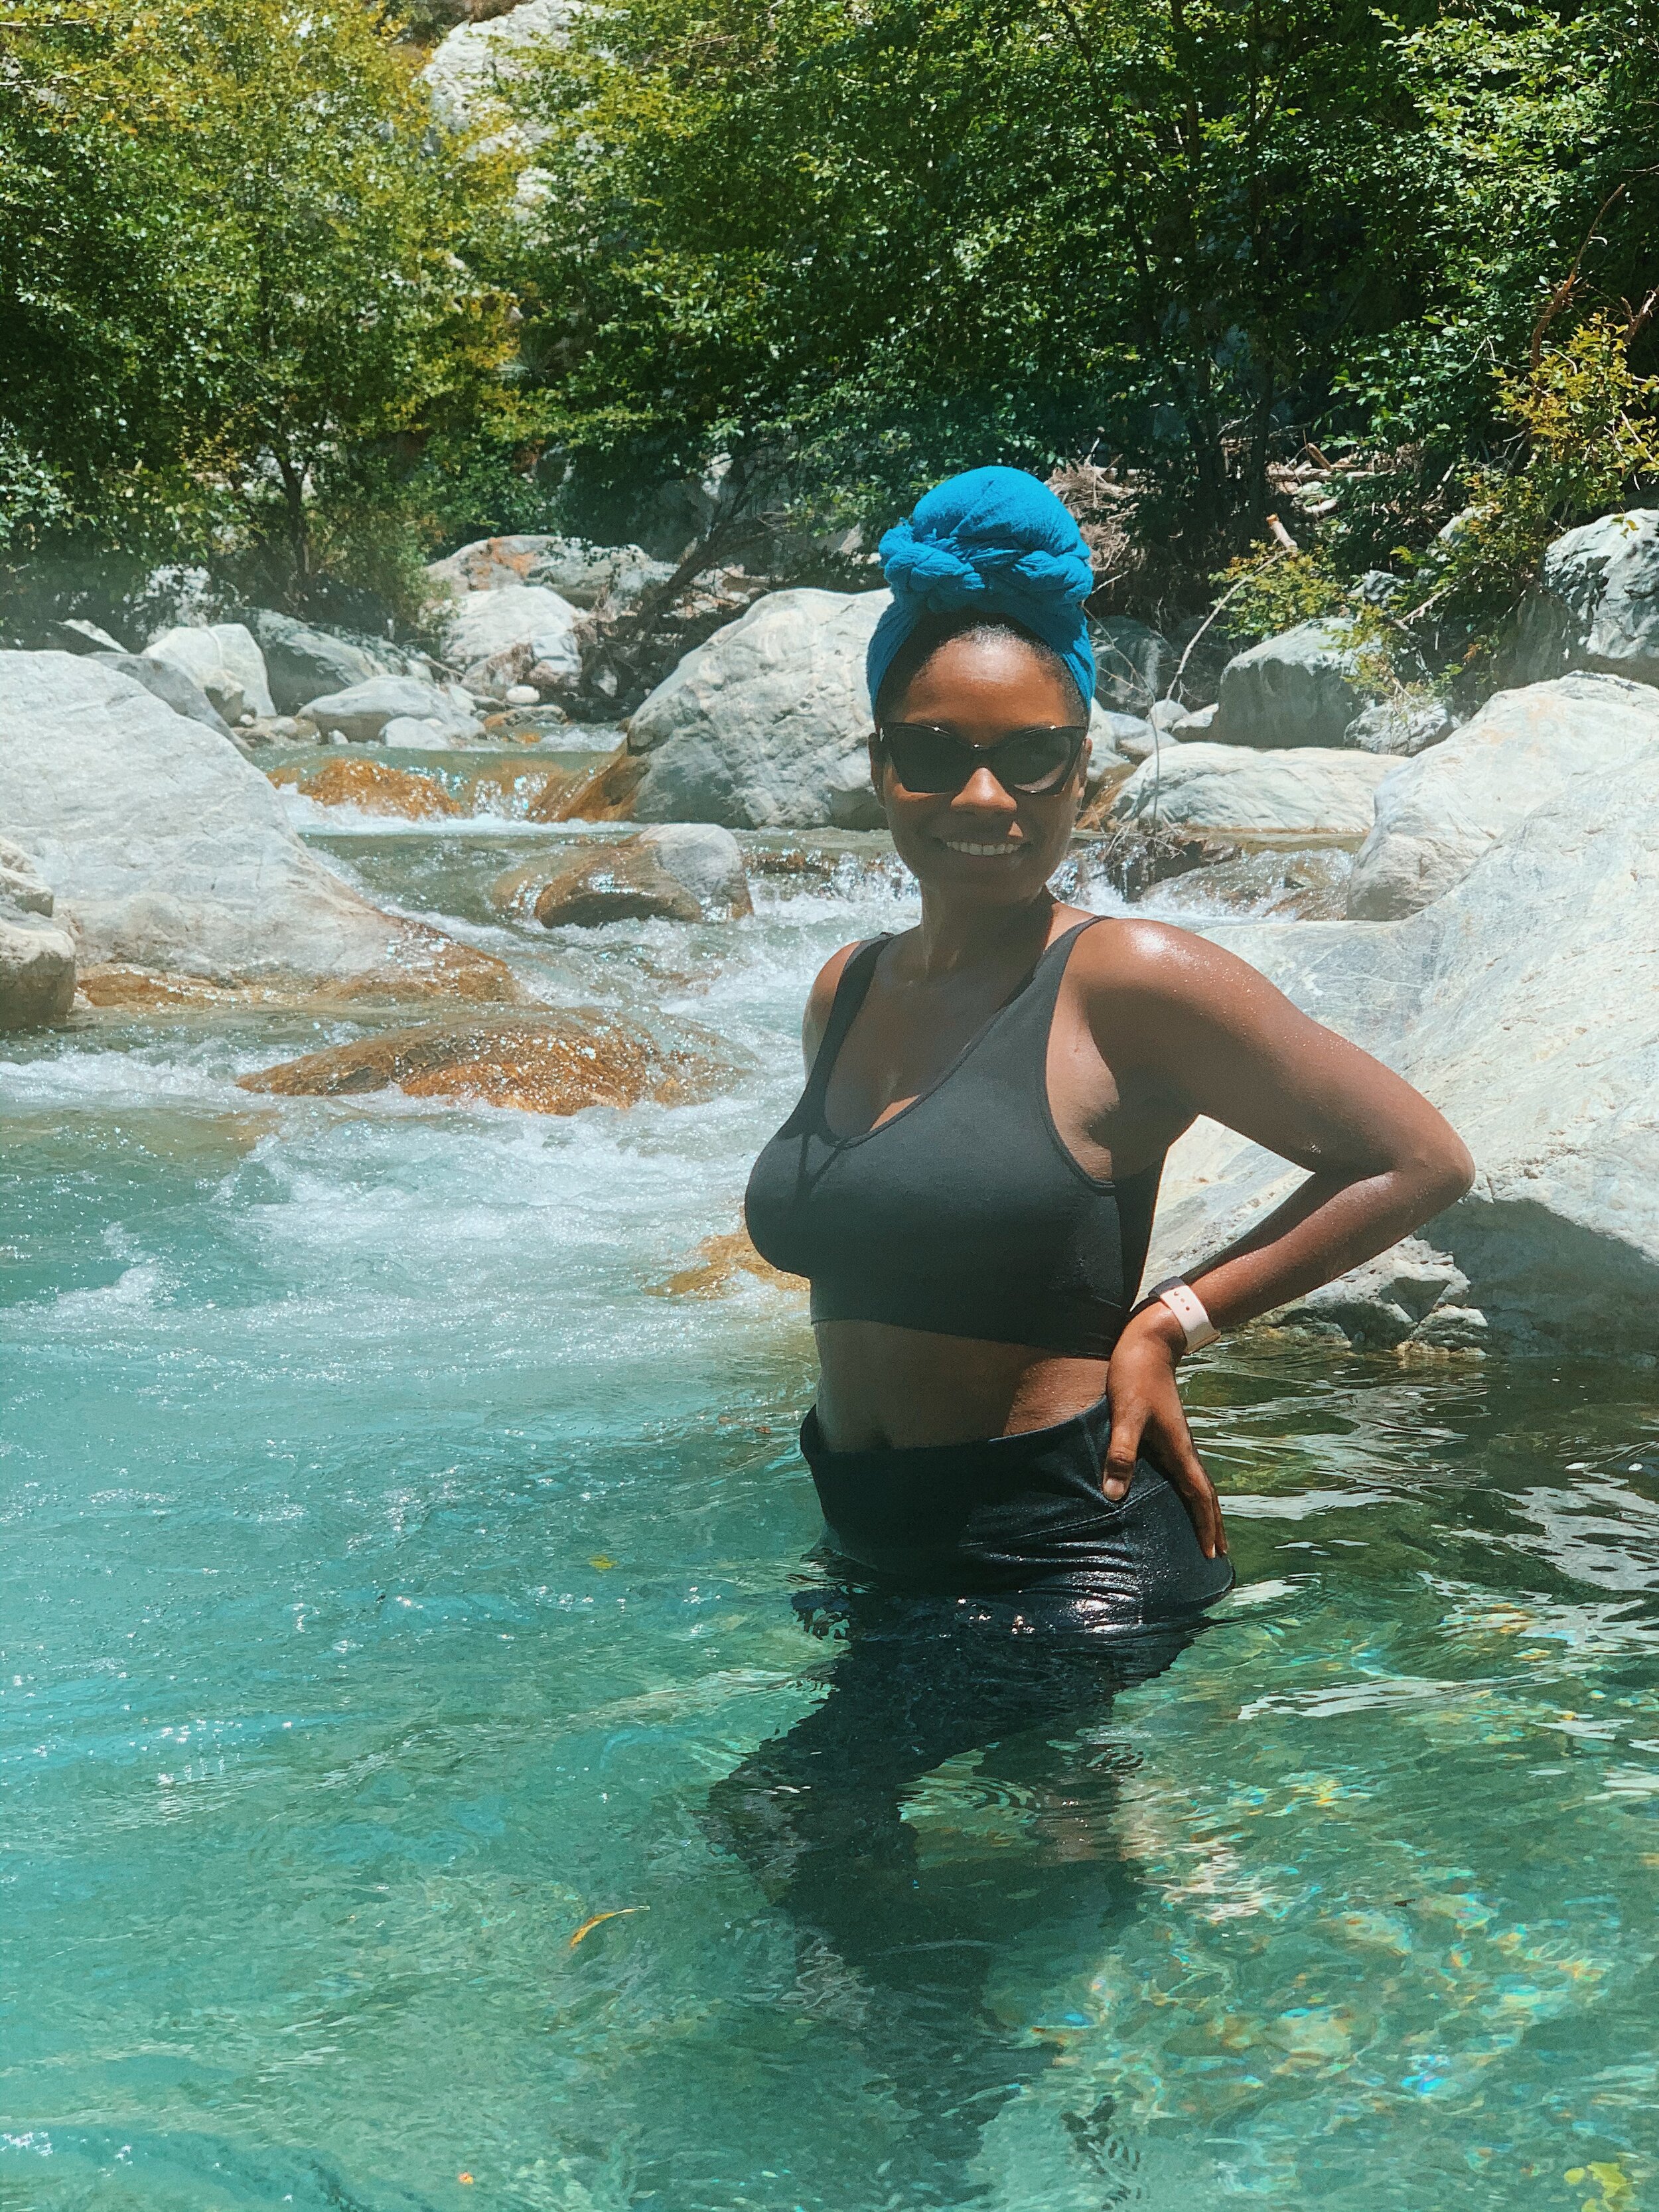
On the trail, we ended up crossing the river about 4 times each way. You will no doubt get wet but in the heat it is really a saving grace for helping to cool down. The water was so crystal clear guys, almost equivalent to that of island water. One thing to note is when your shoes get wet, they become like ankle weights. During the course of the hike I definitely felt that difference. Hip flexors were put to work, were extremely sore by the end of it and my toes were bruised by stepping on rocks and pebbles over and over. Keep your toe nails trimmed ladies, my big toes were a bit too long and my whole nail bed was sore for 3 days! I also ran into a tree log on the way back to the car. My leg shin was swollen and brushed for a week.
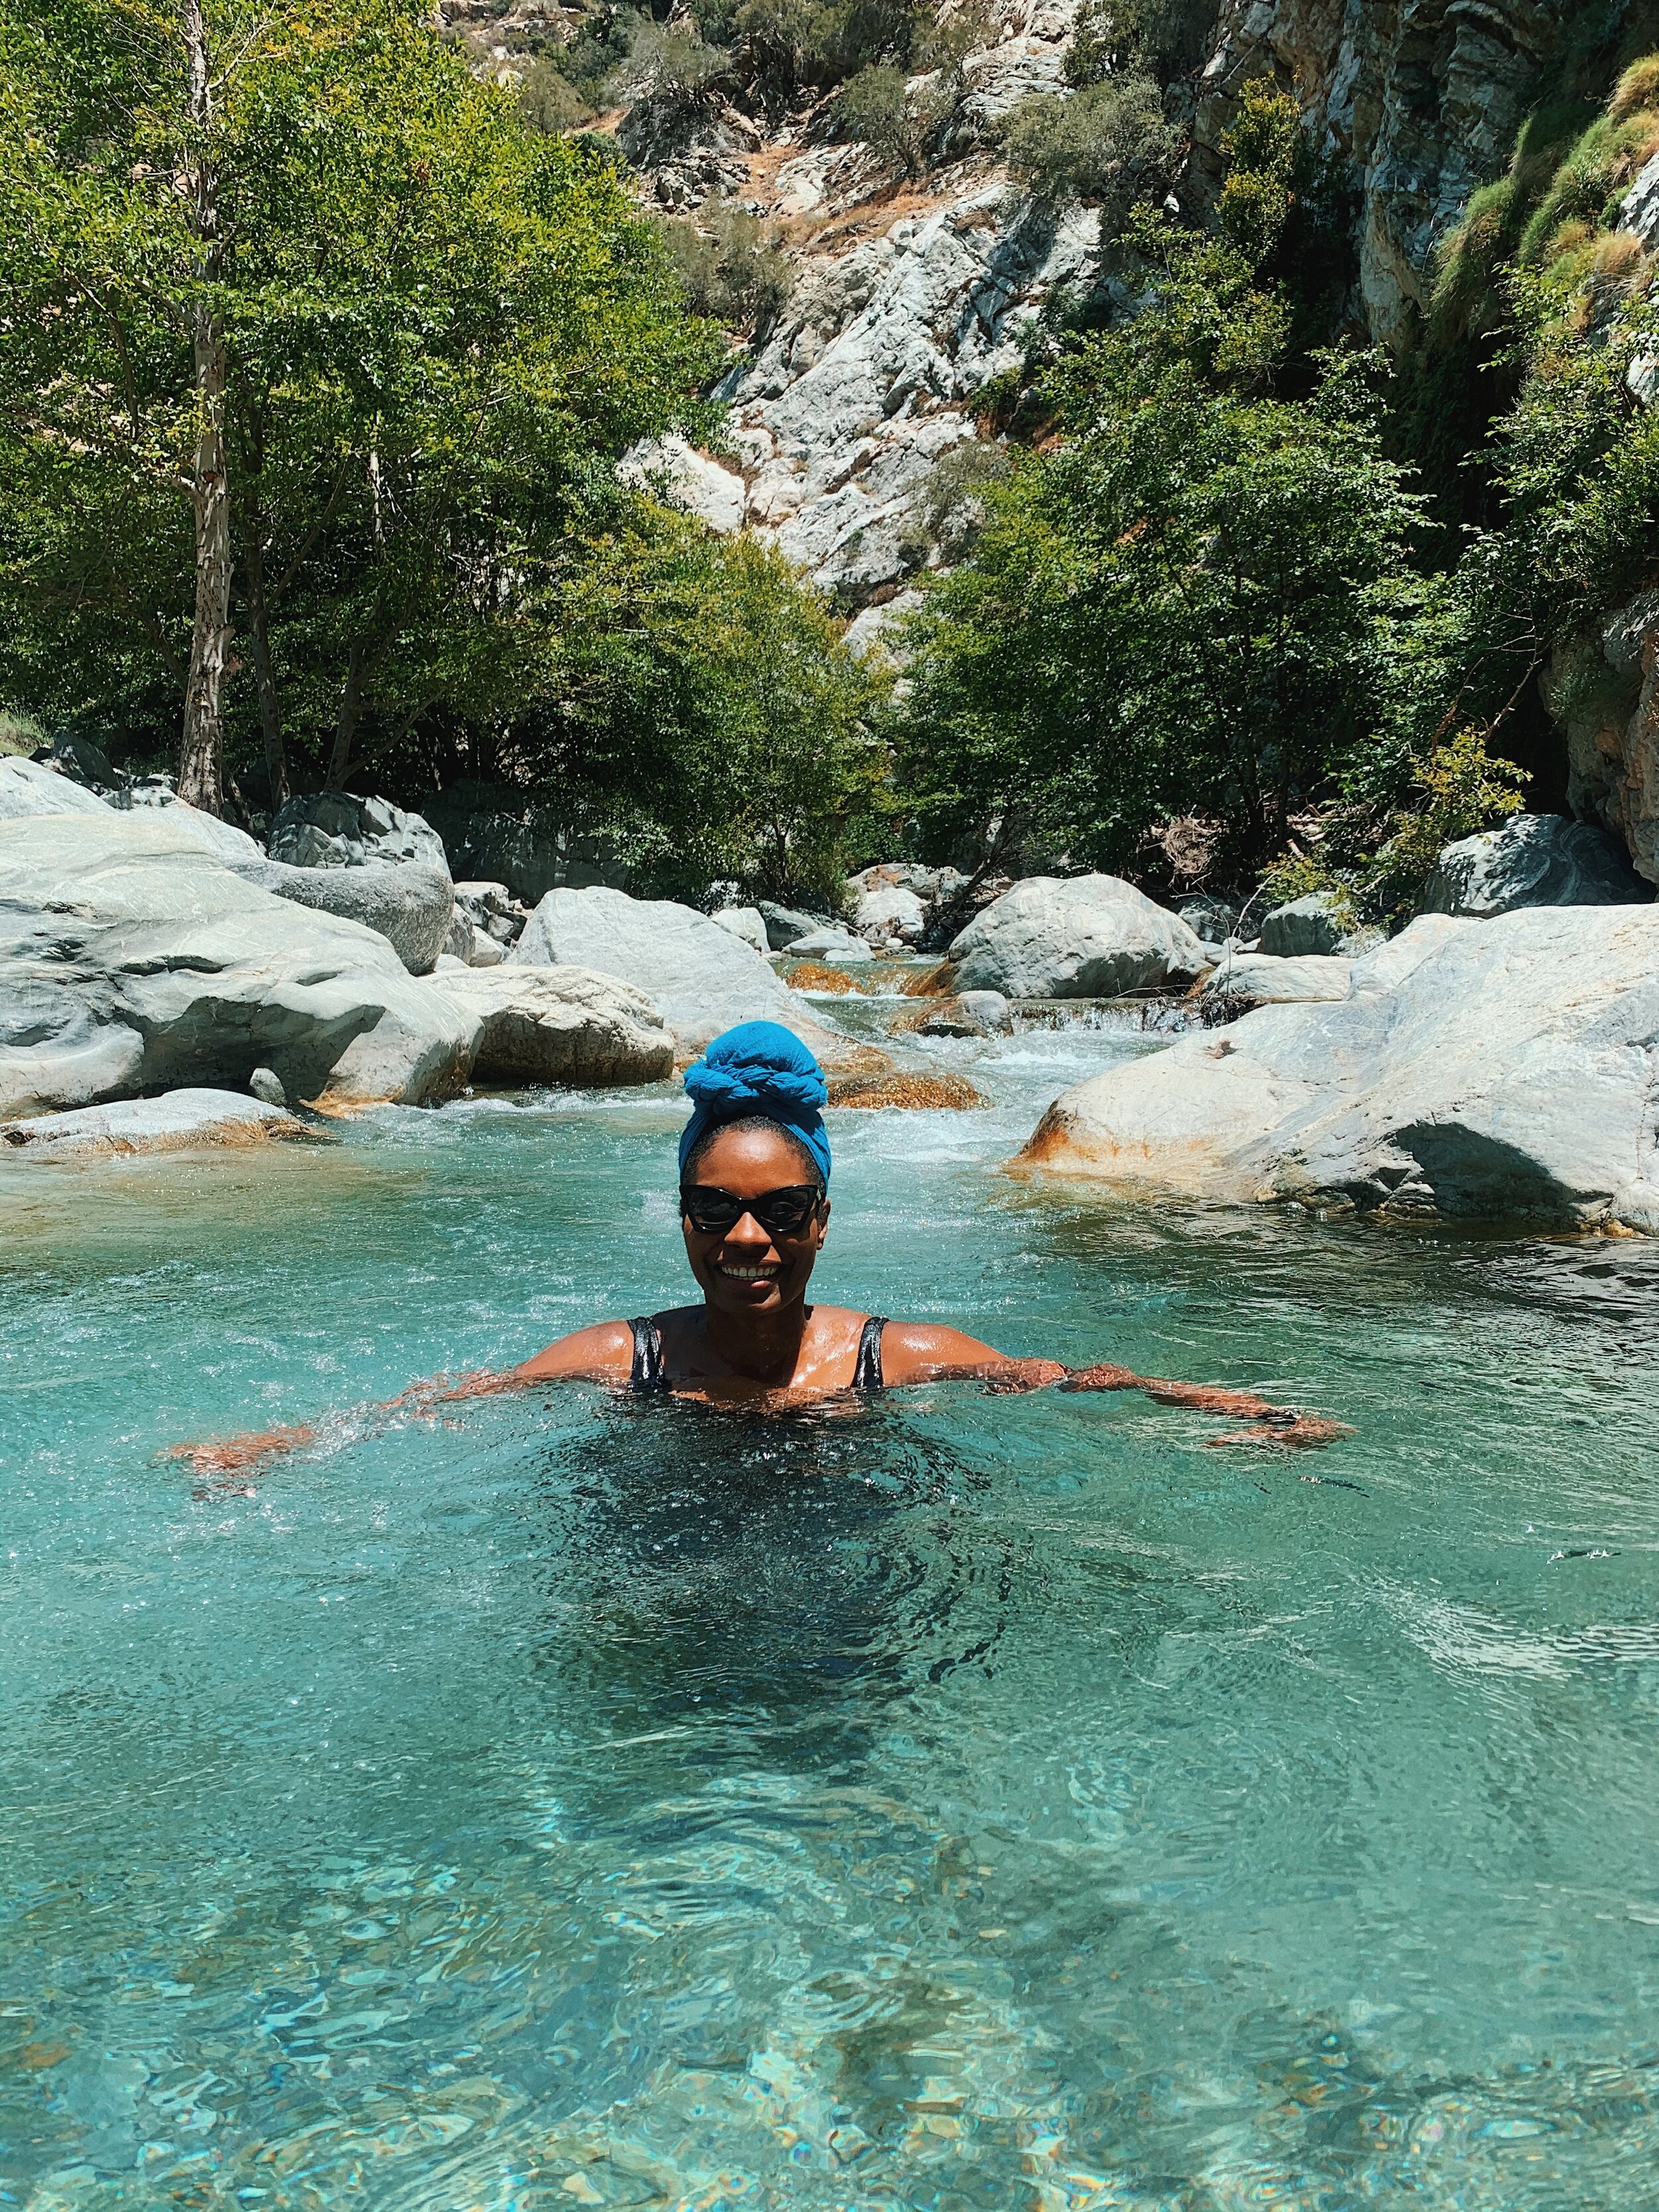

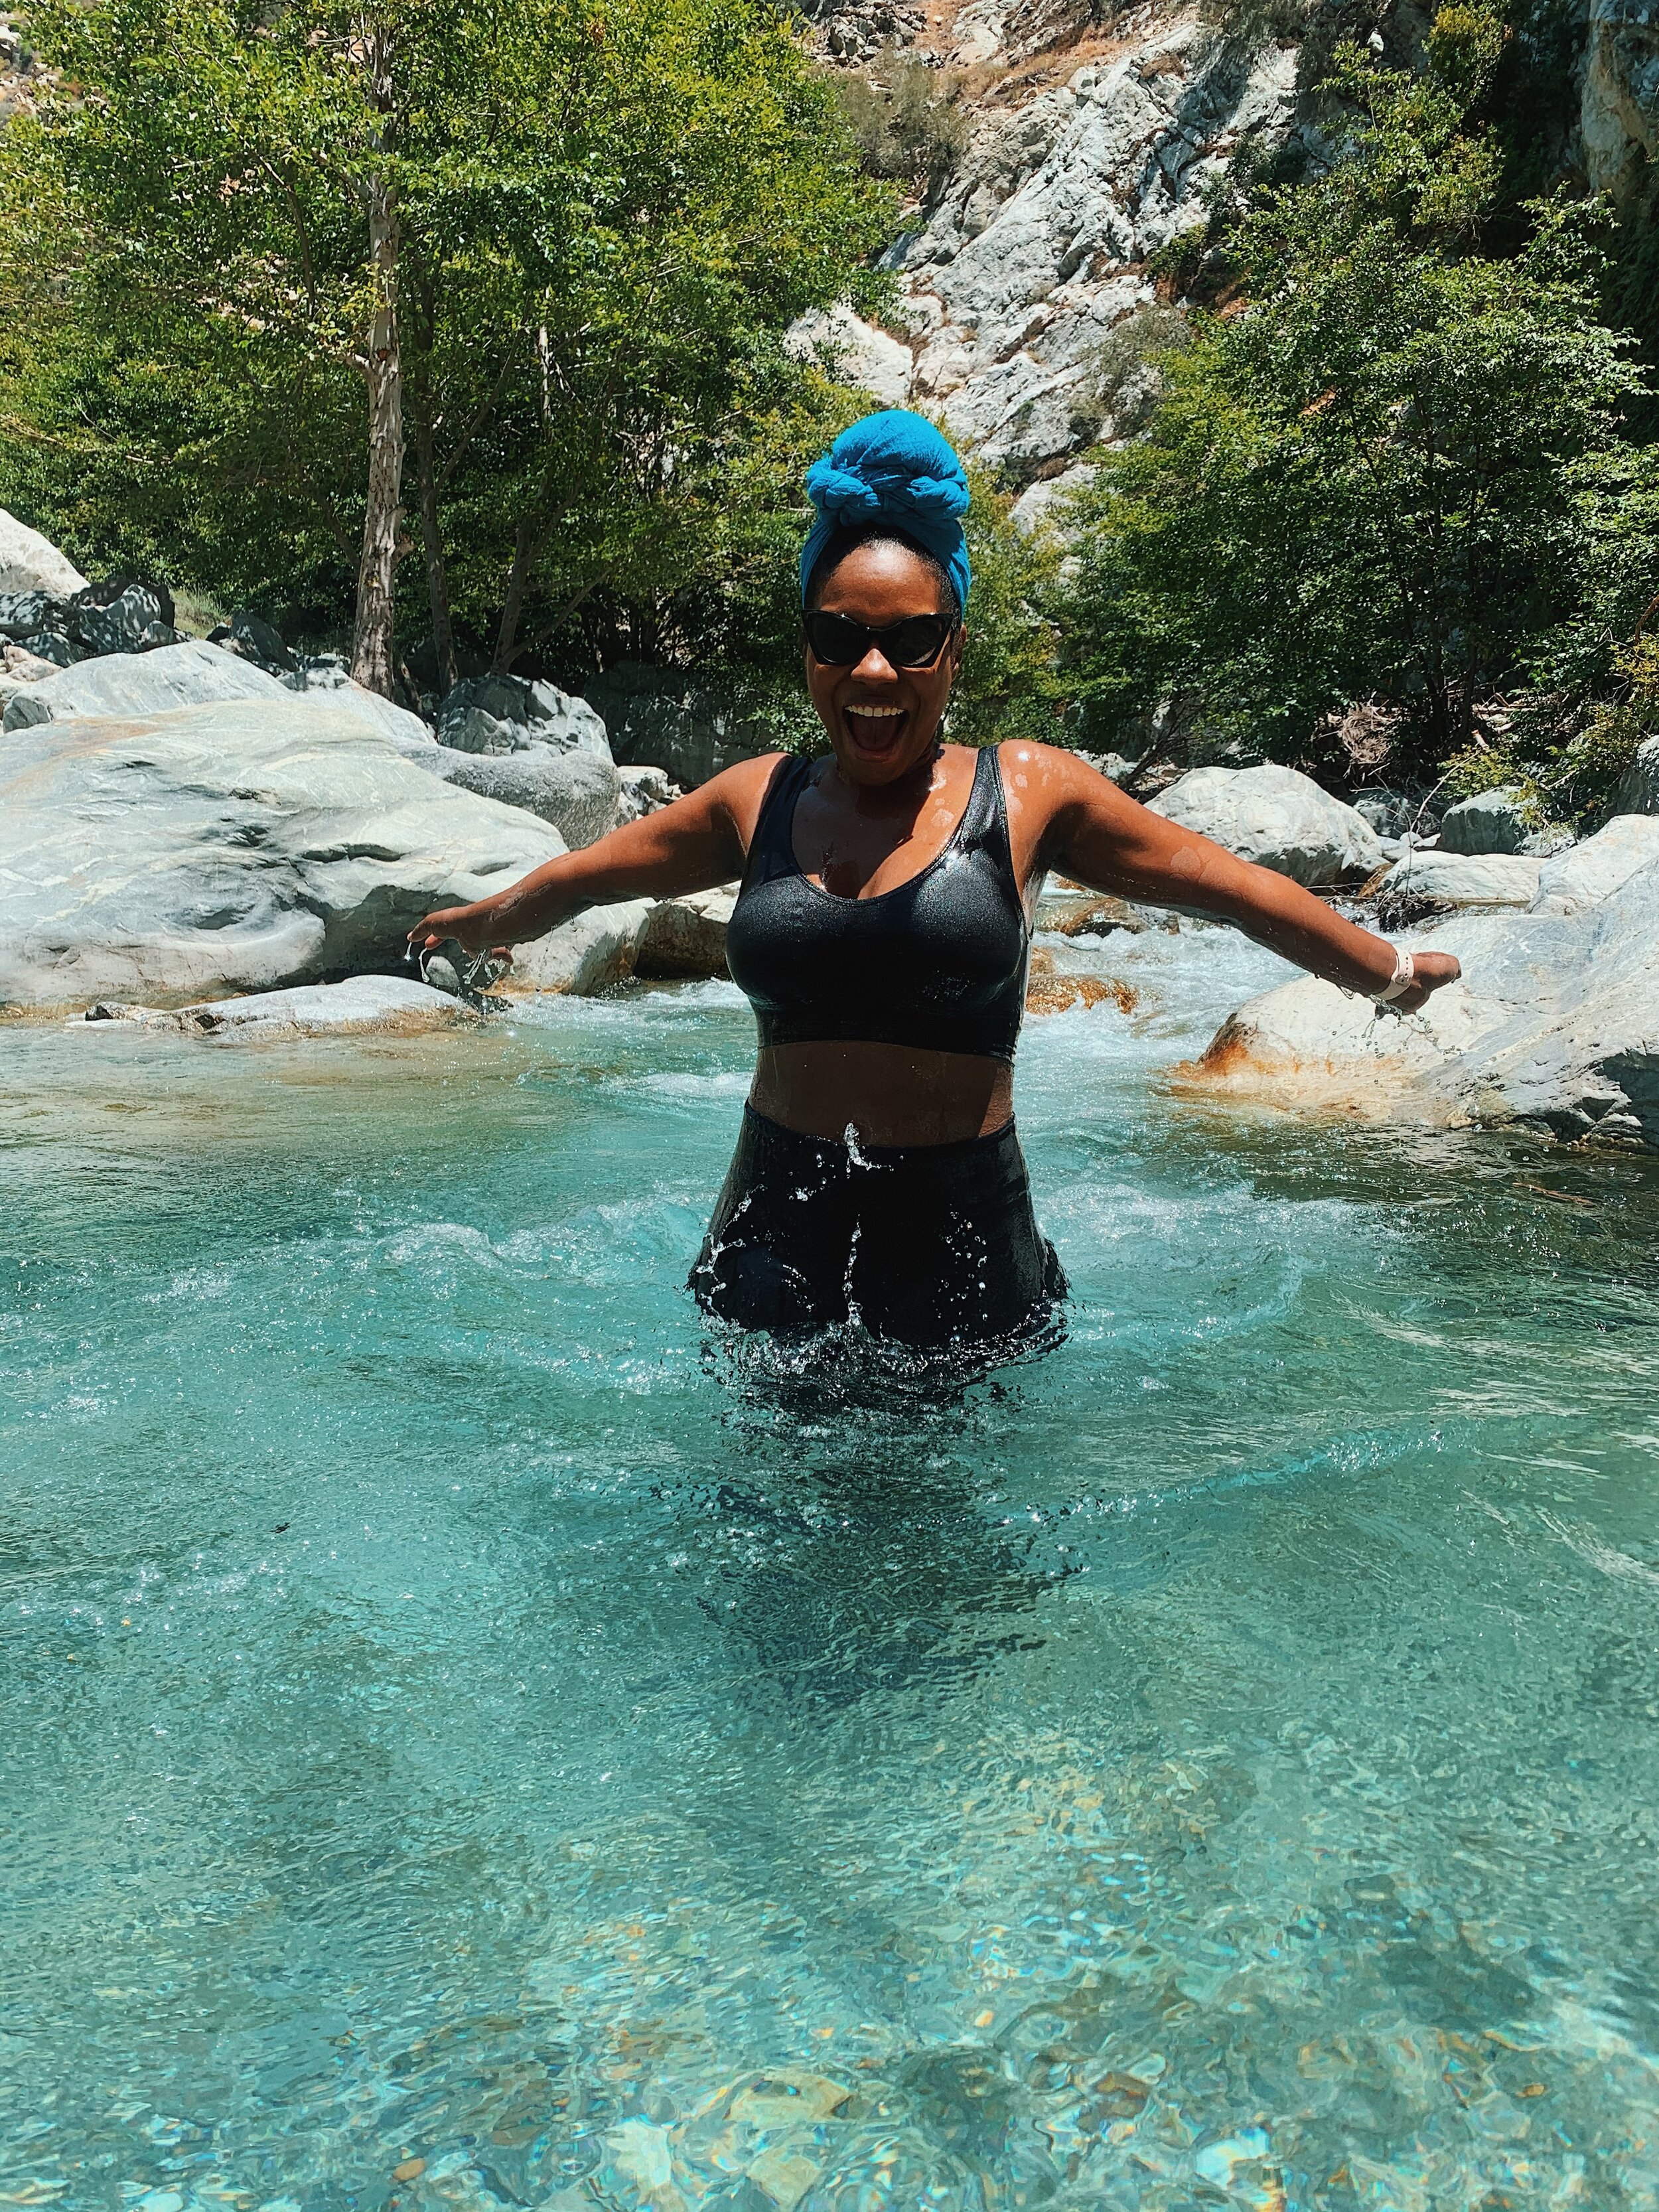
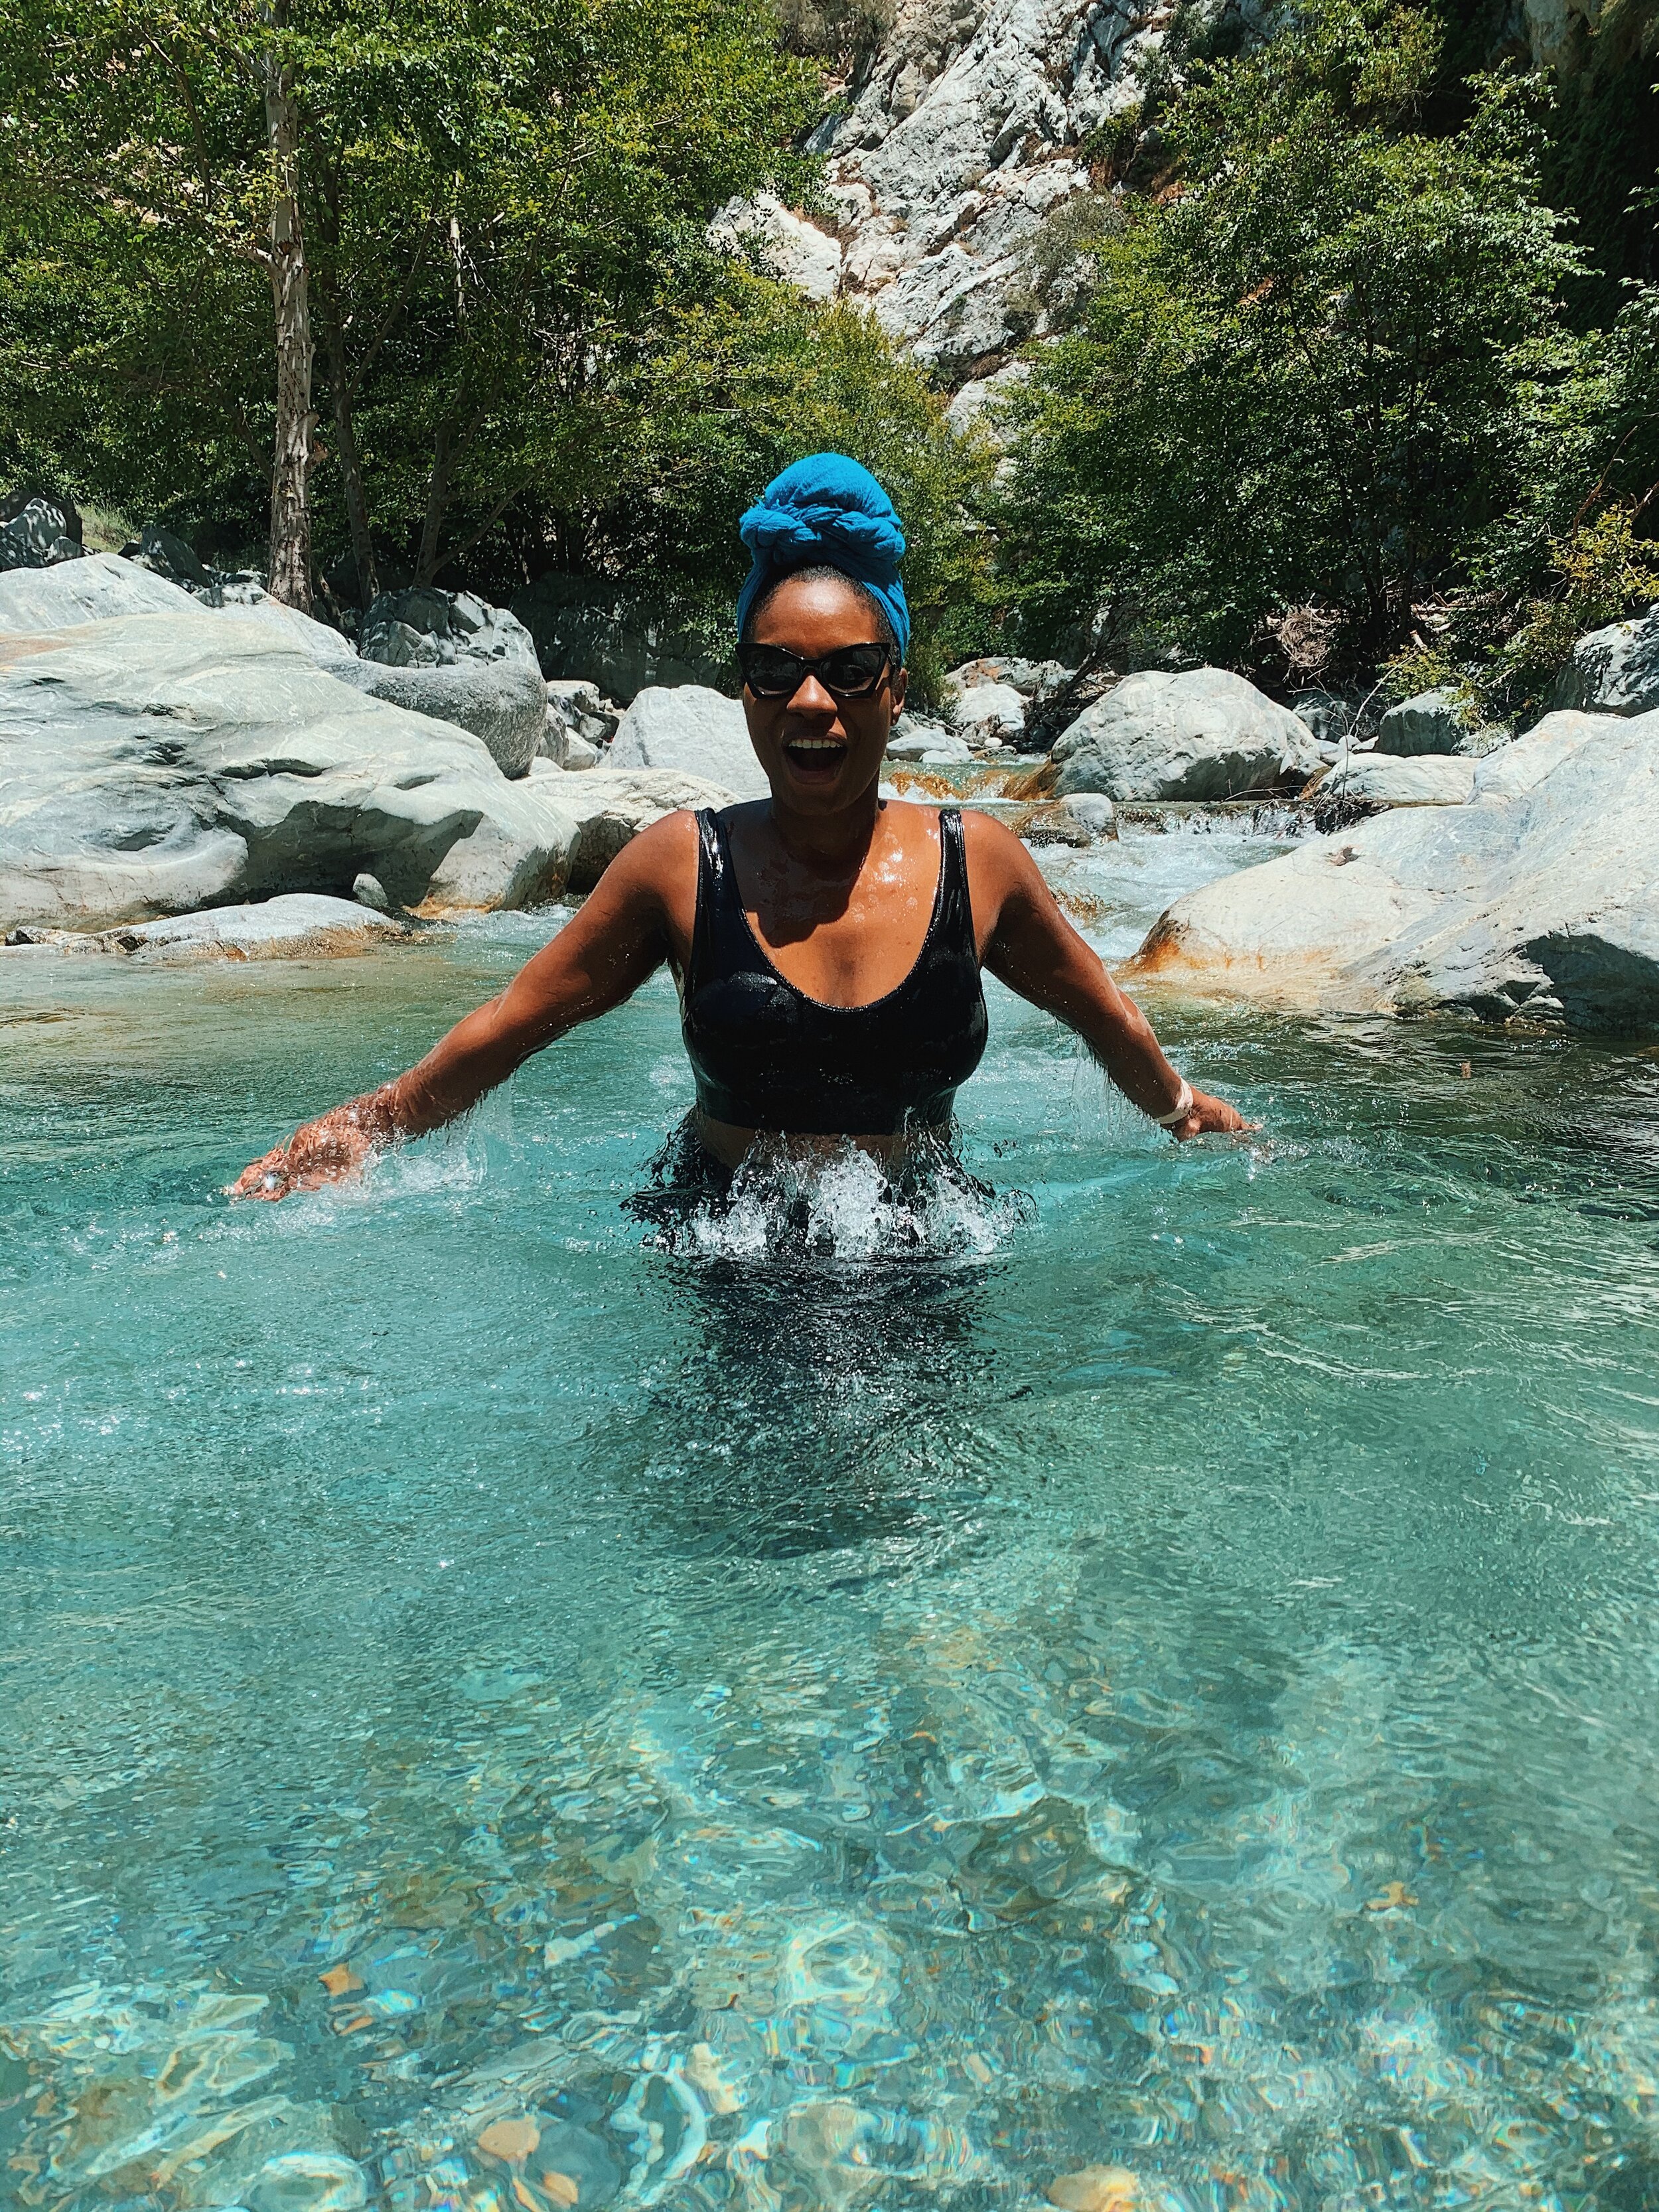
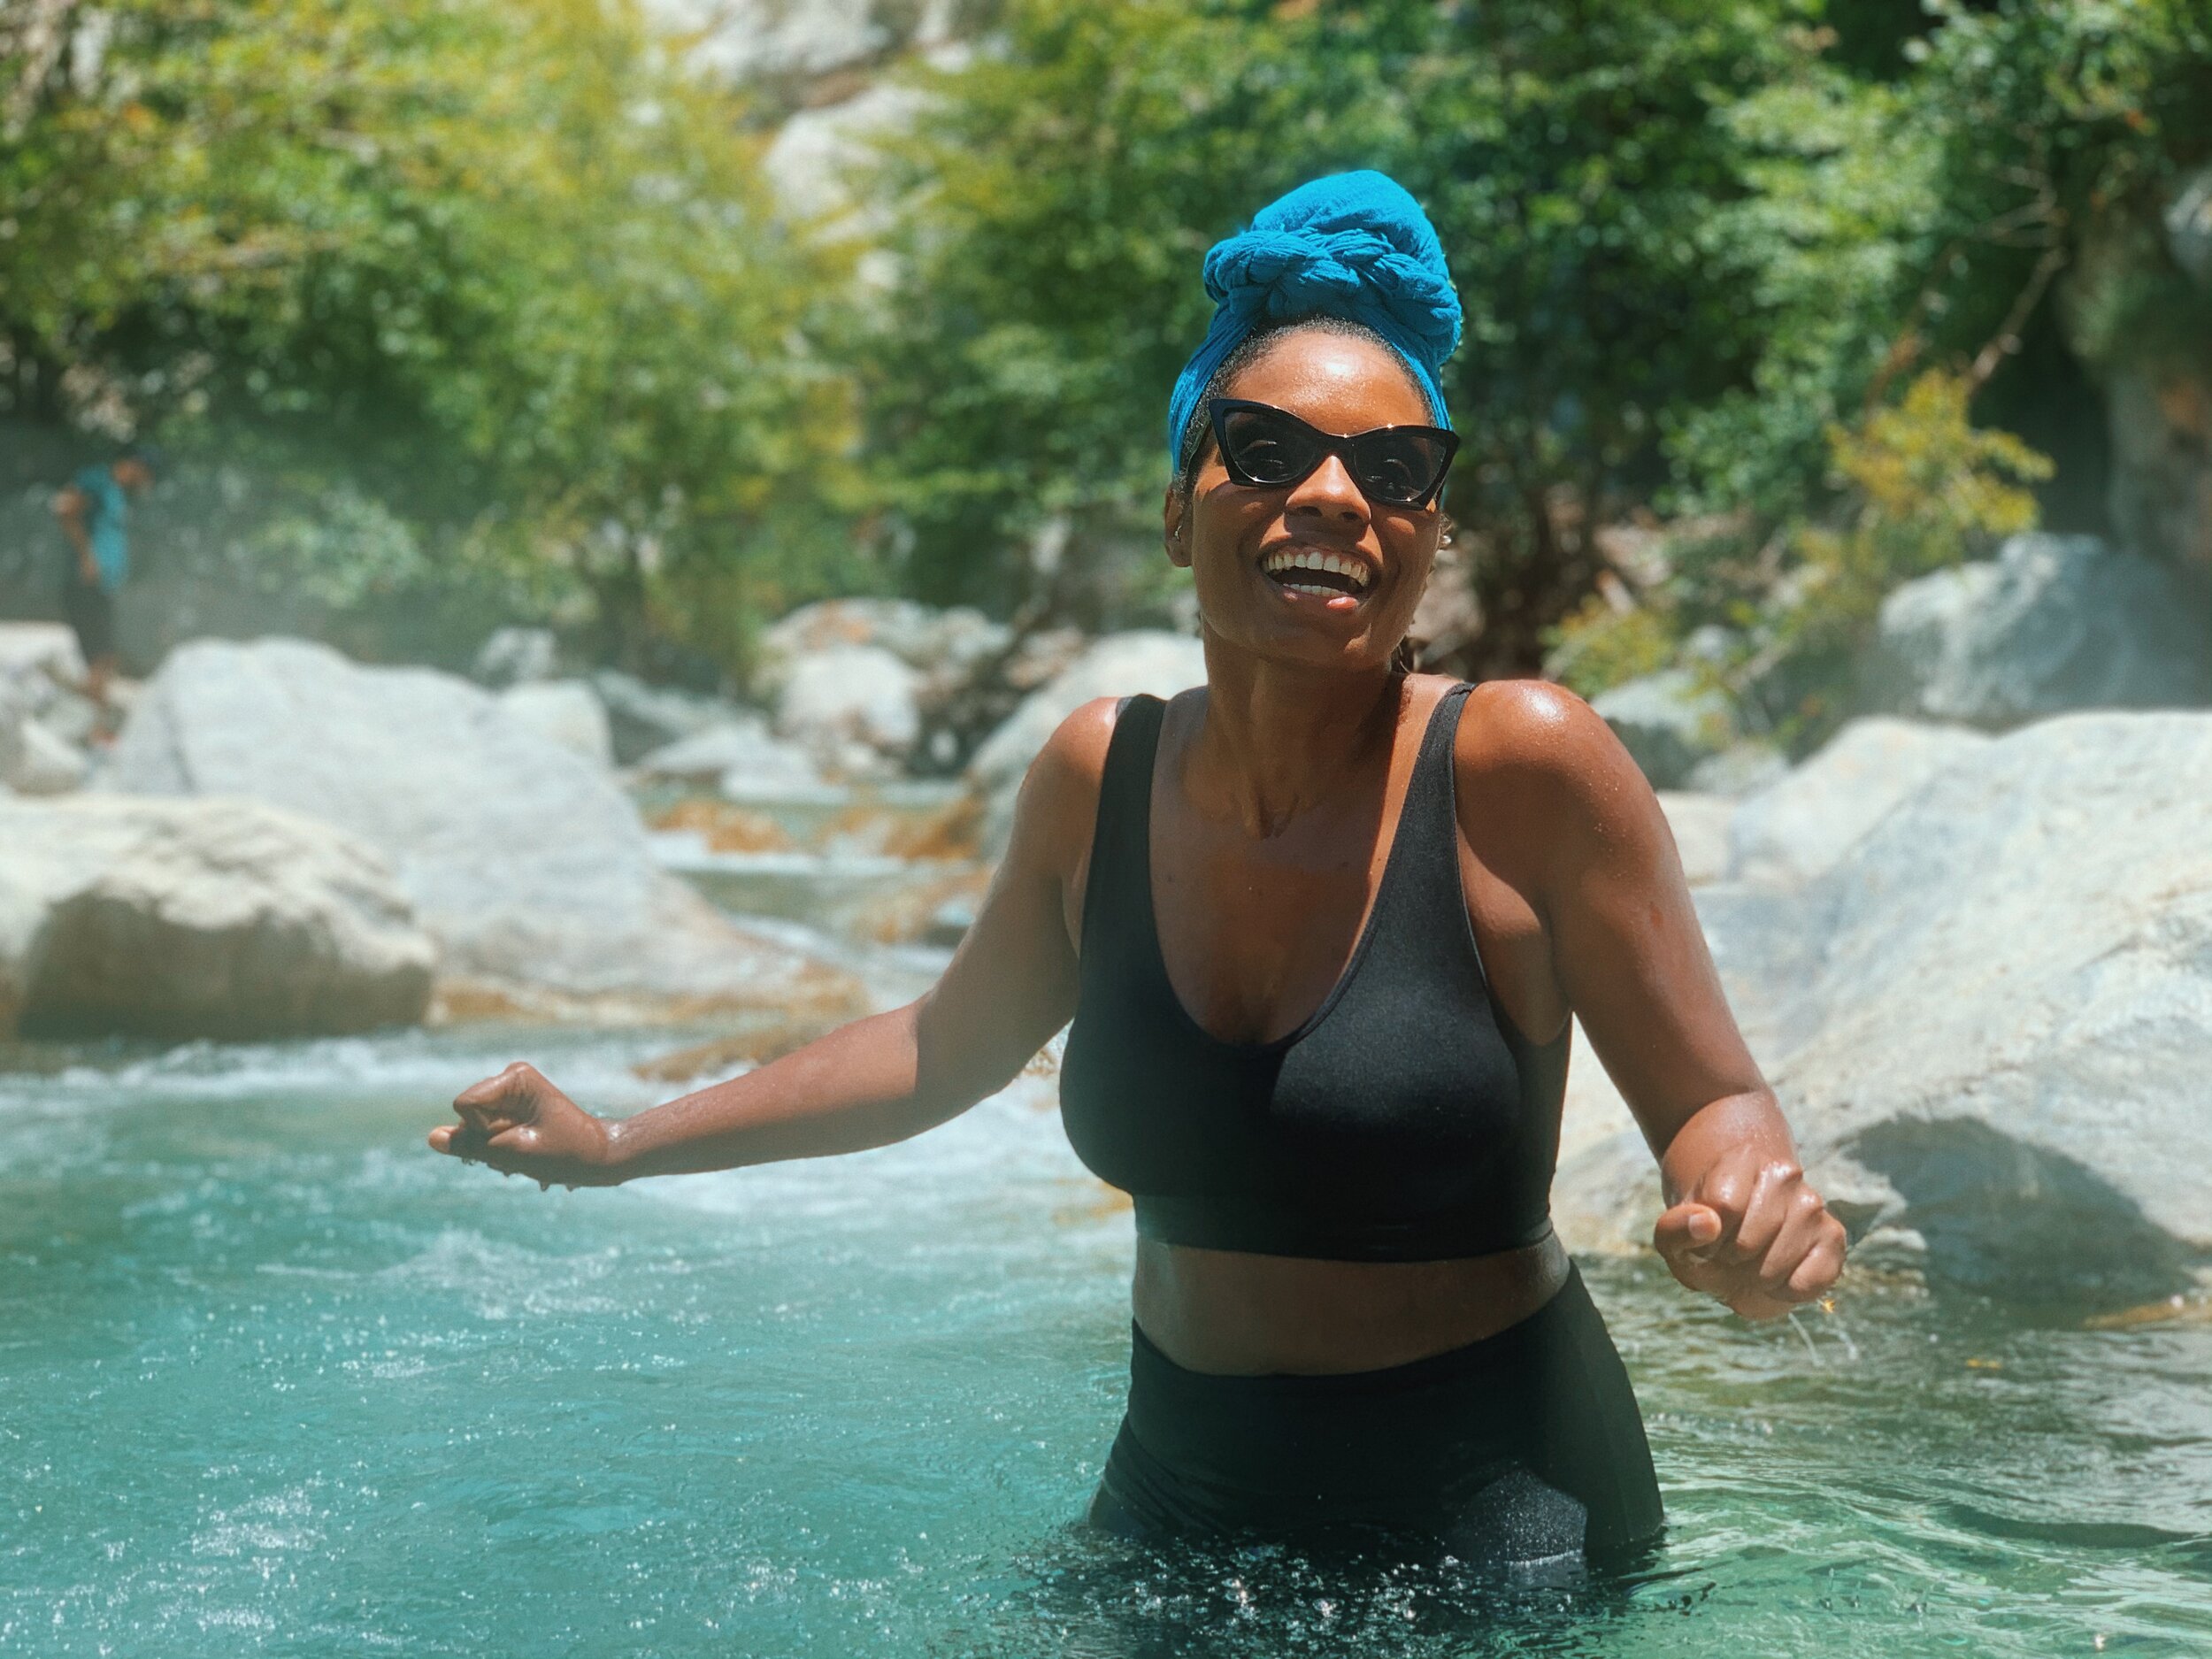
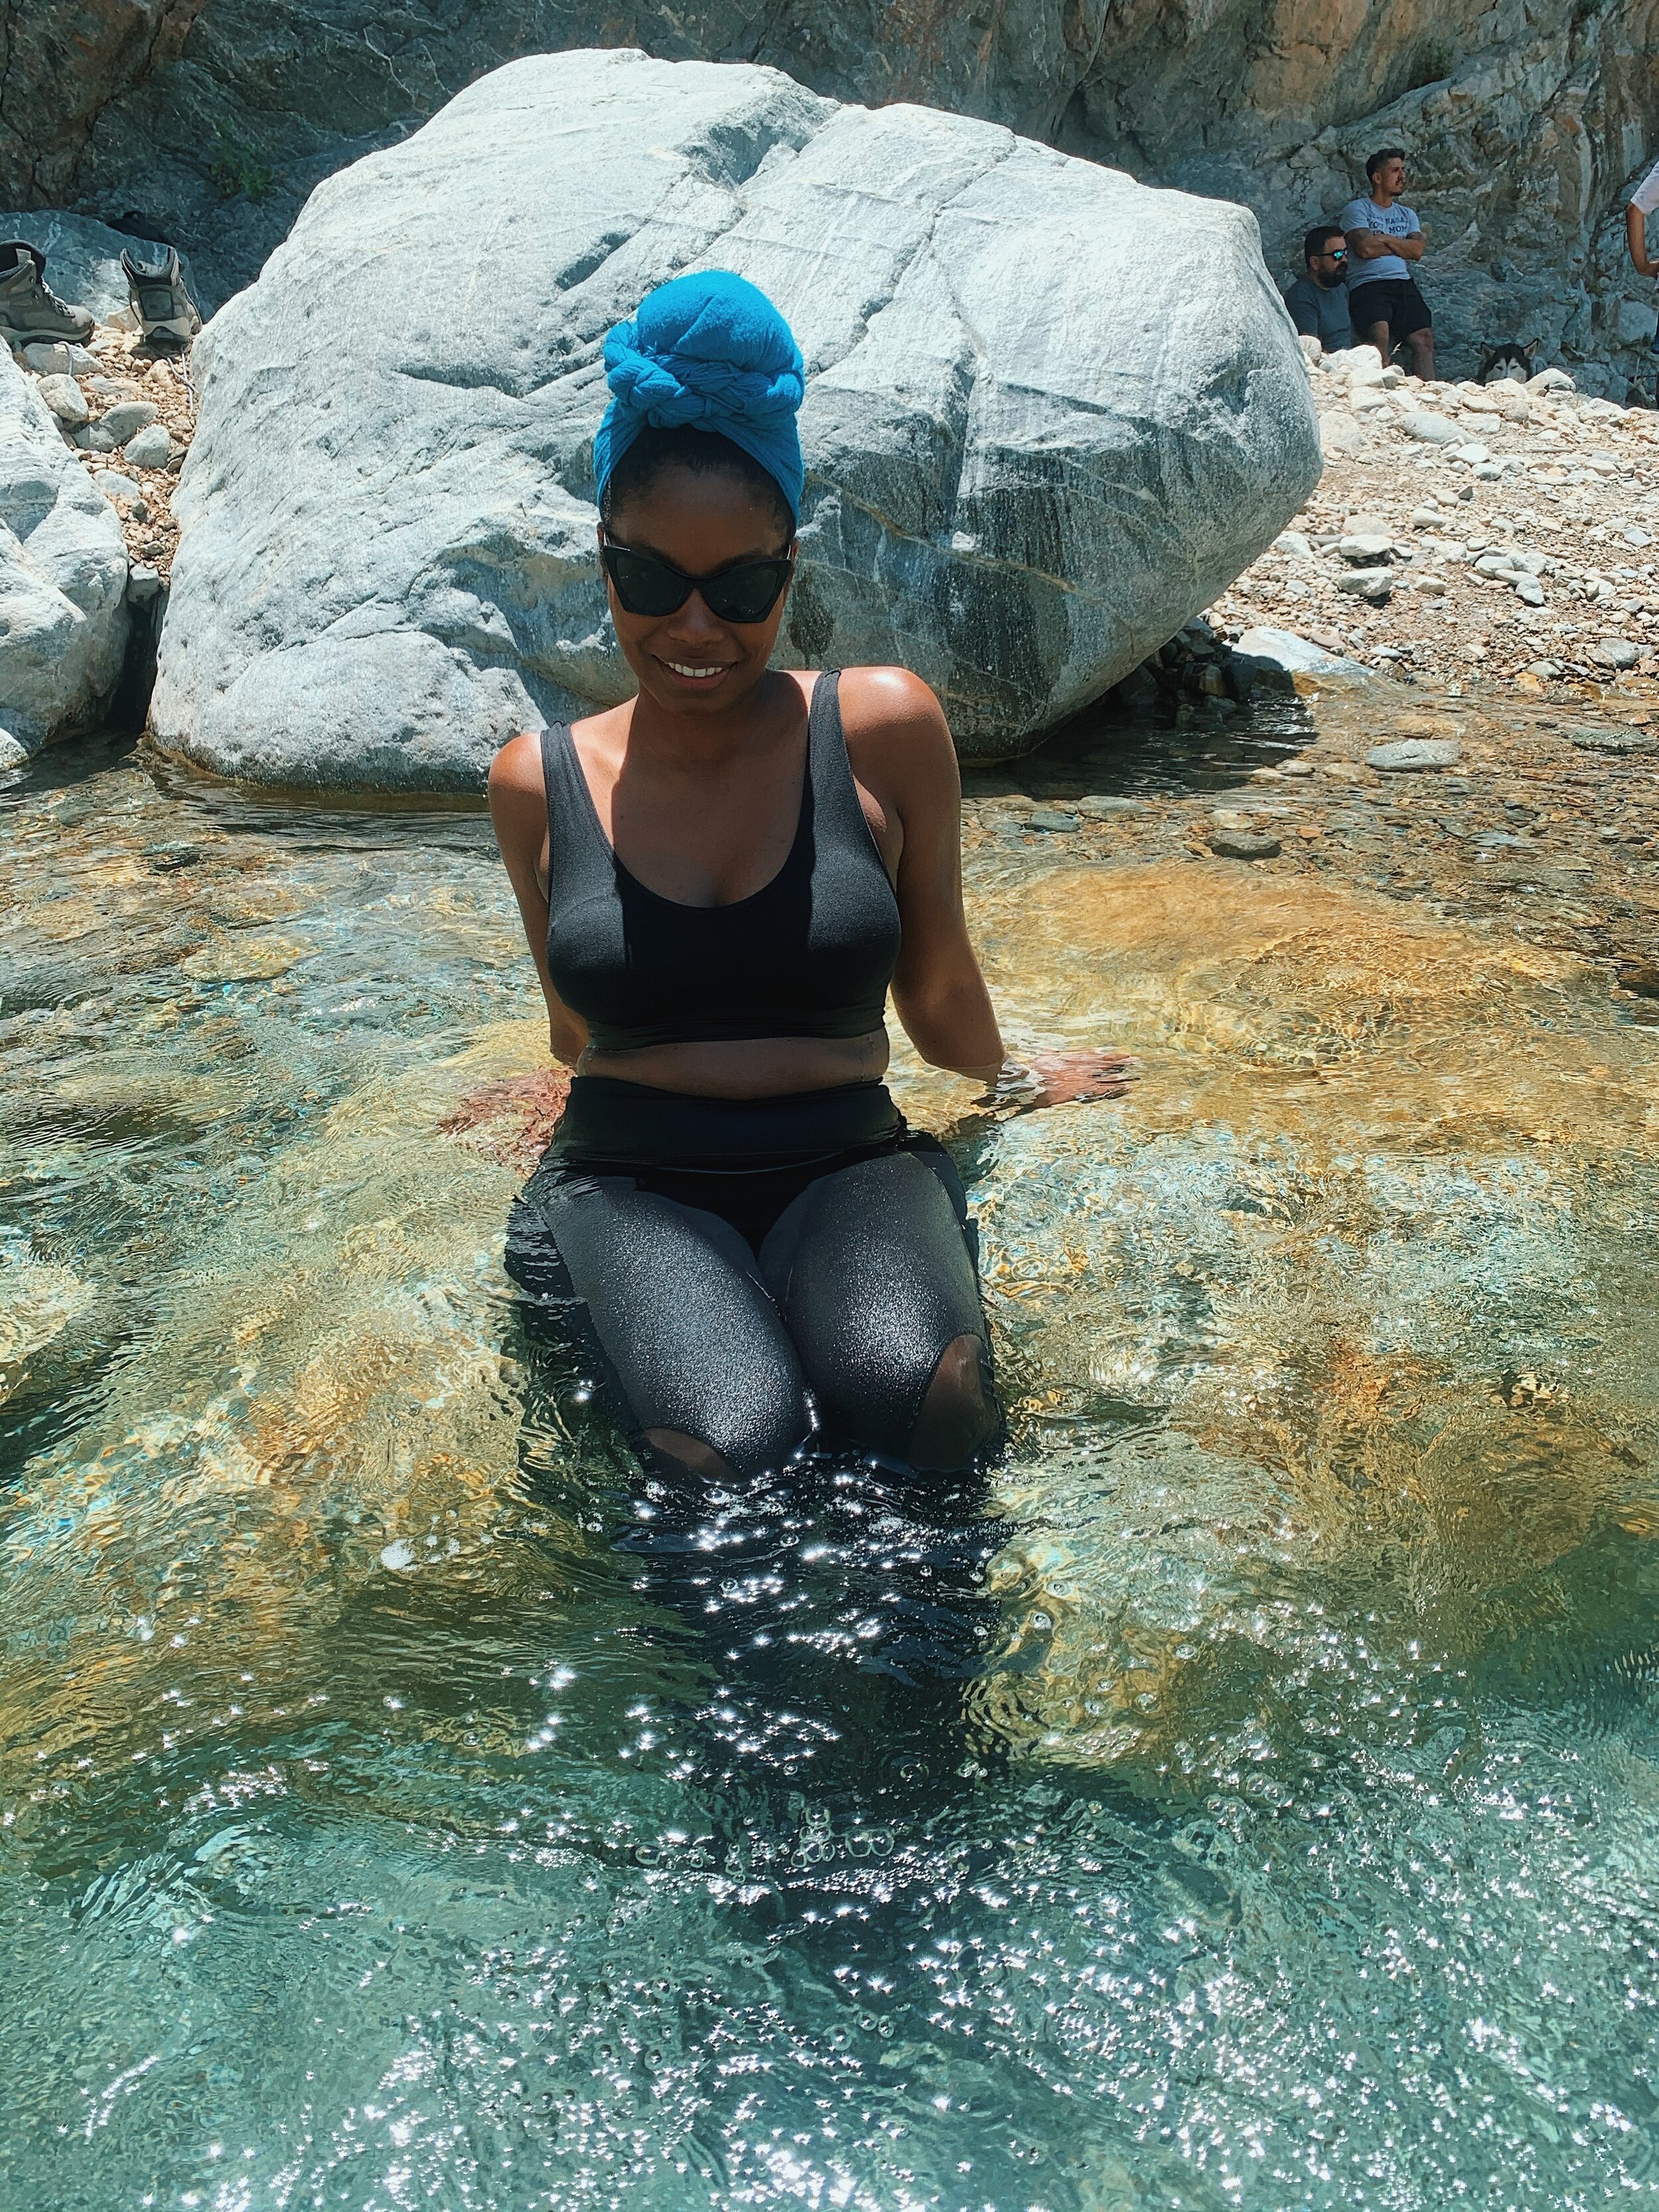

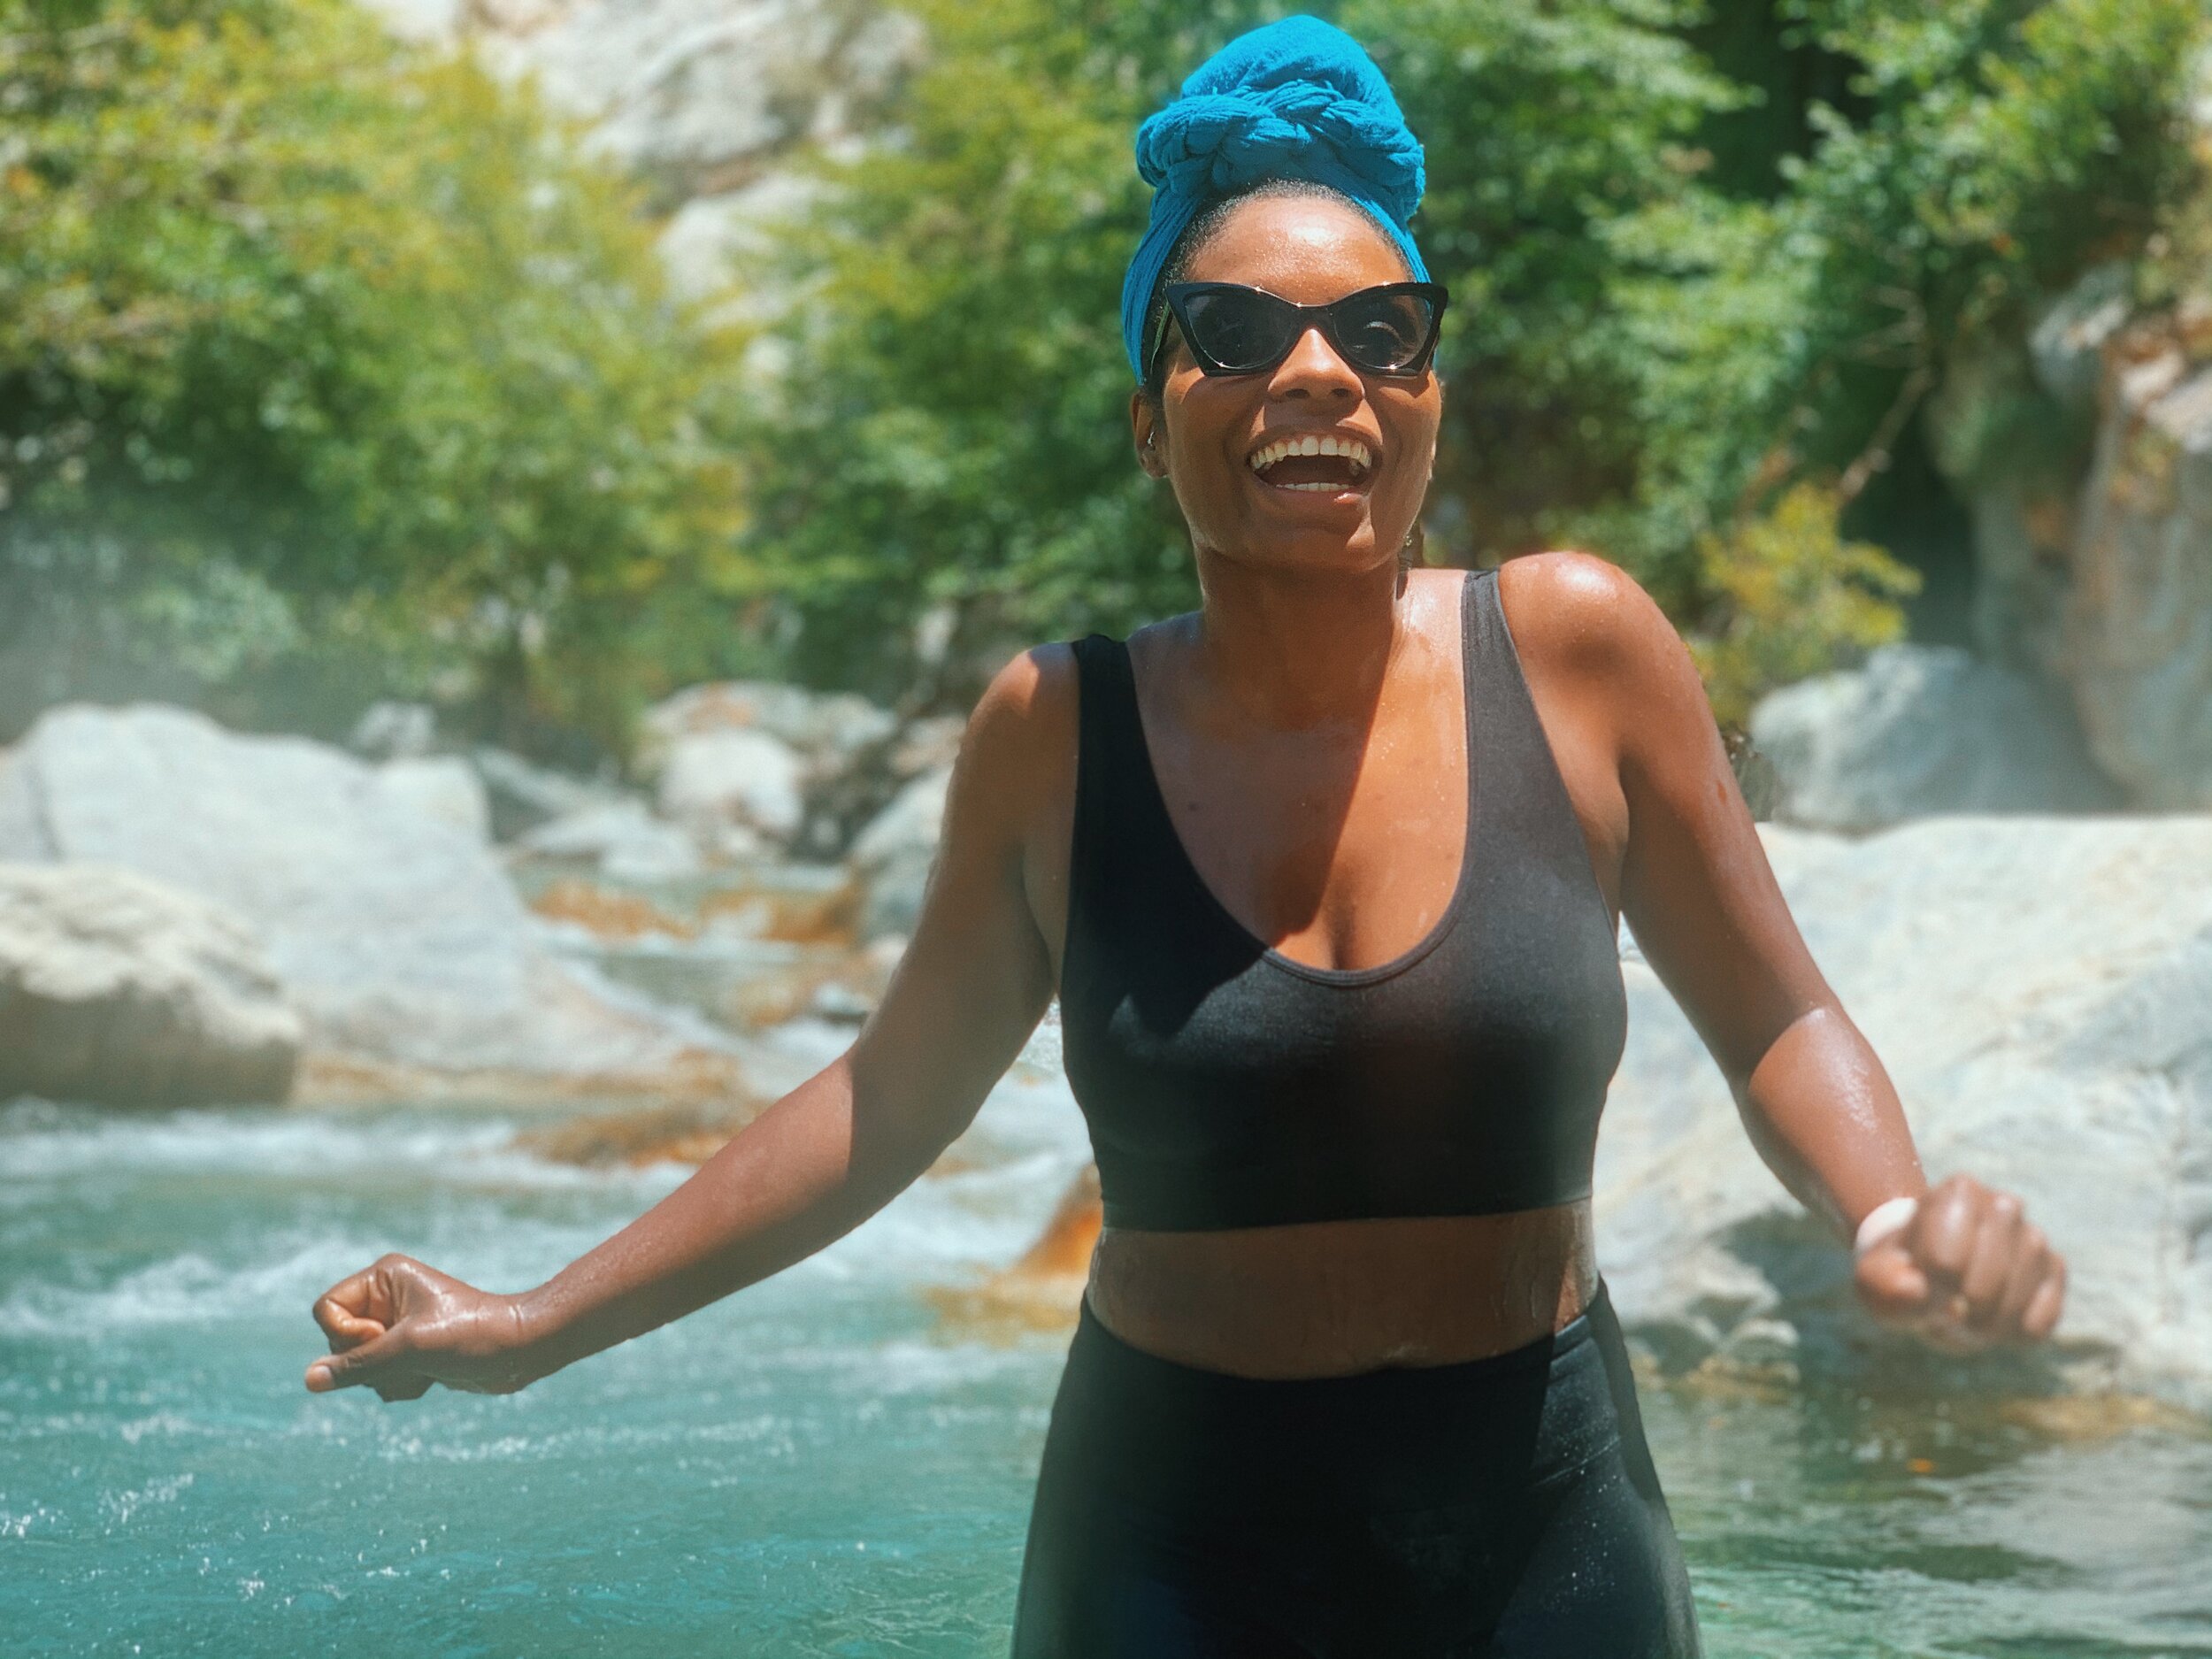
I would say the hike itself isn’t strenuous. The climbing isn’t necessarily difficult however the hike does test your stamina. The last long hike I did was 8.5 miles and that tested my stamina so I wanted to make sure I could get through this one and I did it! Hiking 12 miles is a new personal record and I am really proud of myself. Another perk of this trail is you can come hike along various parts of the river with friends and just hang out. There are designated spots to set up a campsite if you choose to but I would make sure you have a wilderness permit (you should have one of them anyway, but I admit I did not and I’m sure others didn’t as well). I have listed some suggestions below to make your Bridge to Nowhere hiking experience ideal. I hope to see you all out there on your hike life bullsh*t. Please remember to stay hydrated, wear sunscreen and be safe!
Eat a hearty breakfast.
You will be hiking for 5-6 hours you don’t want to burn out half way through it. I saw a man almost have a heat stroke out there so this isn’t a hike to do fasted cardio.
Bring at least 3 tall canteens of water.
I brought 2 and would have loved a 3rd. 4 canteens of water is ideal though.
Wear a hat or visor.
There are many spots along the trail that are out in the sun with zero shade so trust and believe you will need that added protection.
Wear sunscreen.
Be prepared to reapply it a few times during the course of the trail. Especially after swimming in the swimming hole.
Bring energizing snacks.
I took two snack breaks along the way, once before getting to the bridge and once right before heading back. Know your body, this would be the worst trail to pass out. Remember, it’s 5 miles in and out (10 total).
Get to the trail as early as possible. 8am is ideal.
You are able to find closer parking, thus limiting your overall mileage to and from your car. It’s the summertime and the heat will make the trek uncomfortable. The goal is to get to the bridge before the heat becomes too unbearable. The hike back is pretty much a piece of cake up until the last mile if I am being completely honest, but again we parked another mile away from the trail.
Invest in hiking shoes; something with great traction and grip.
There are quite a few river crossings on the trail so your feet will get wet, making some parts of climbing dangerous with slippery shoes. Some people choose to rough it in regular shoes but I seriously do not recommend. The less traction and grip, the more prone you are to slip. I promise I didn’t mean to rhyme.
Pack/Wear a bikini.
Honestly there isn’t anywhere private to change into so wear it underneath your hiking clothes or get in the swimming hole with your clothes on. The water is so refreshing either way and you’ll be dry well before you reach your car.
Rest.
I cannot stress this enough how incredibly helpful it is to rest before making the trek back to finish the hike. I admit that I immediately wanted to turn around and that would have been the dumbest decision. I’m glad I decided to rest instead.
Take pics of trail directions to reference.
There is zero reception so you will be completely off the grid for the duration of the hike. There are people along the trail to keep you going in the right direction but it never hurts to be well prepared. The All Trails app is a great tool to use. If you want a more detailed guide of the hike please visit www.hikespeak.com. They do a really great job of navigating the trail step by step for you.
XOXO Lipstickcoco